Millennium - This Is Who We Are site logo
Menu

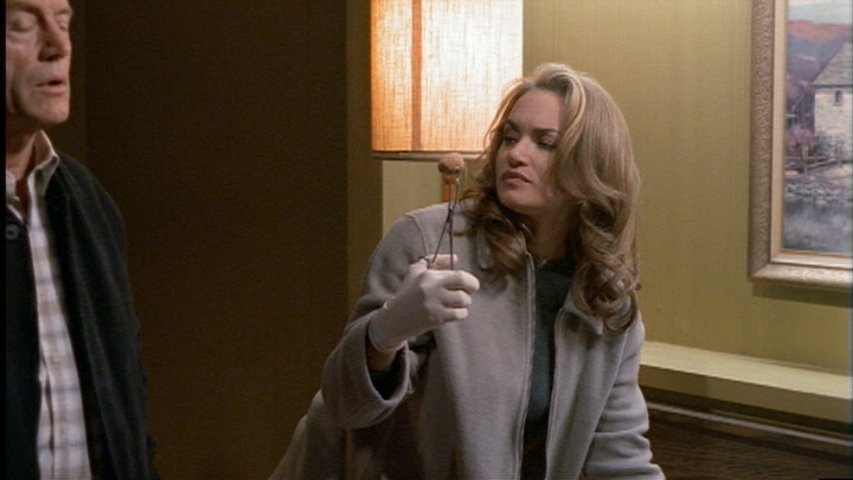
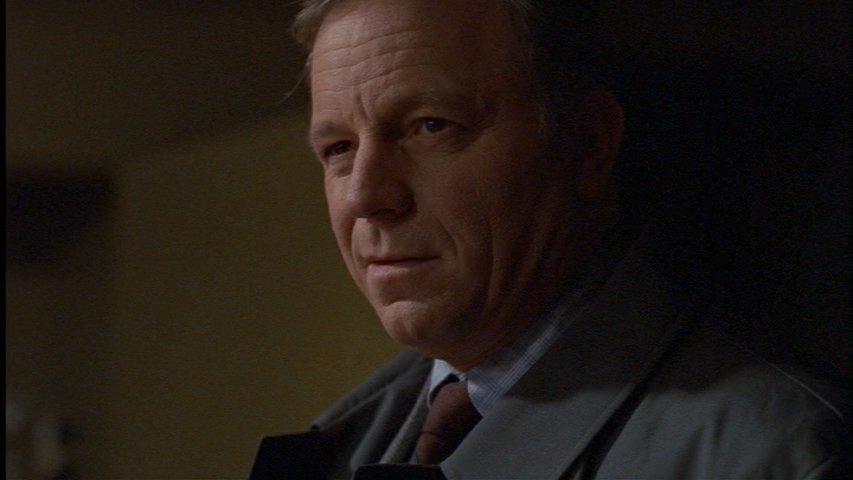
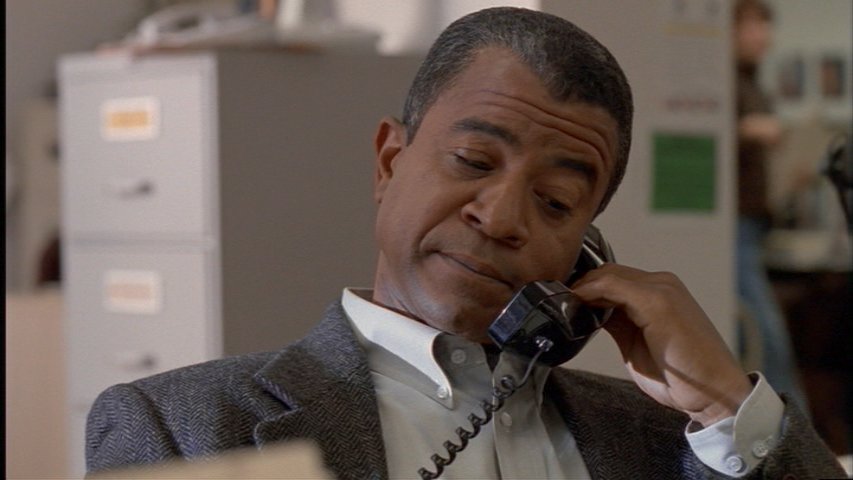
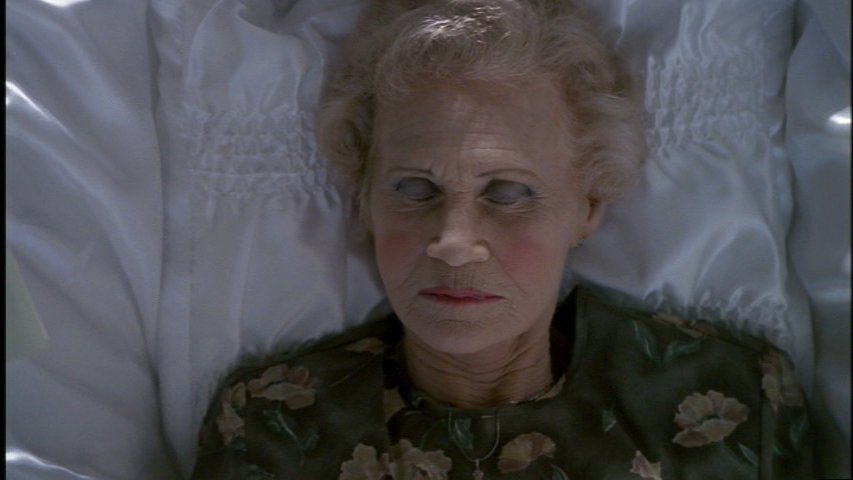
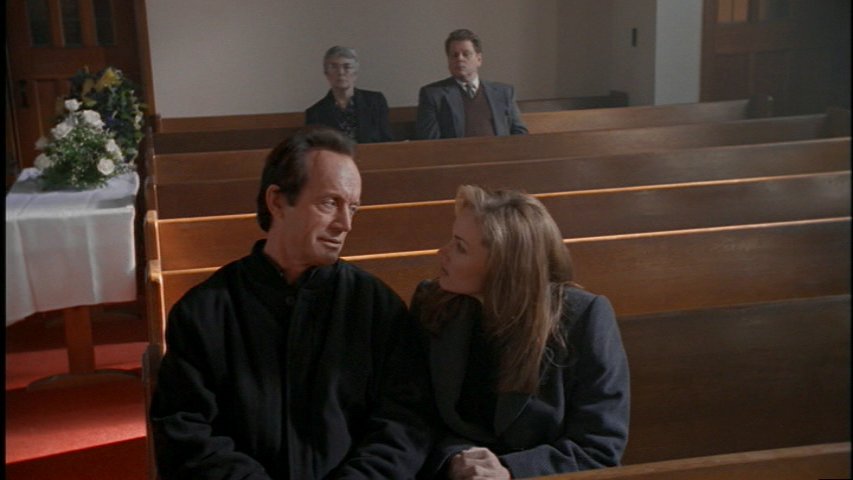
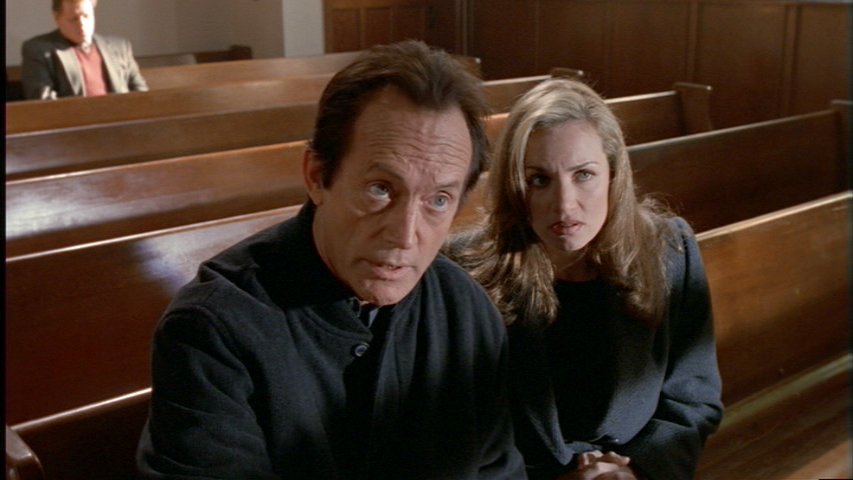
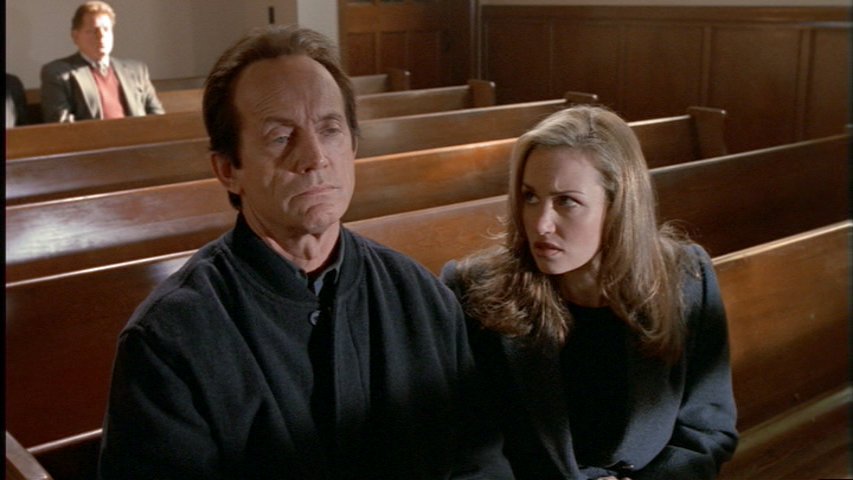
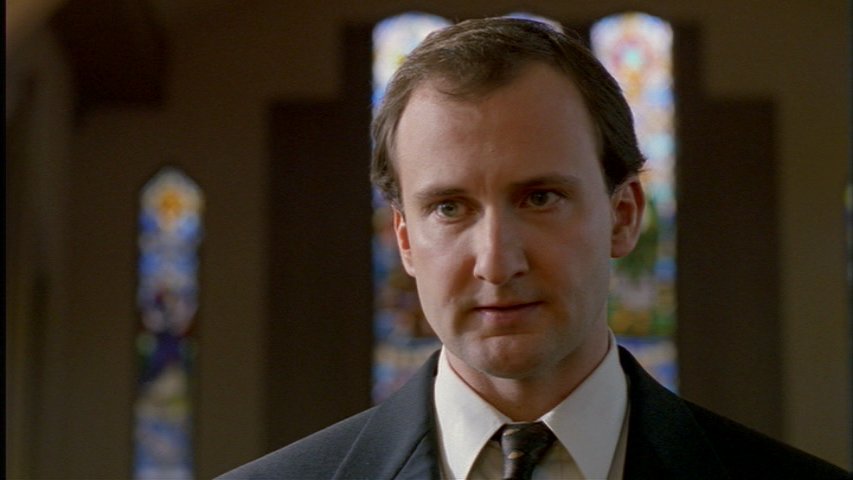
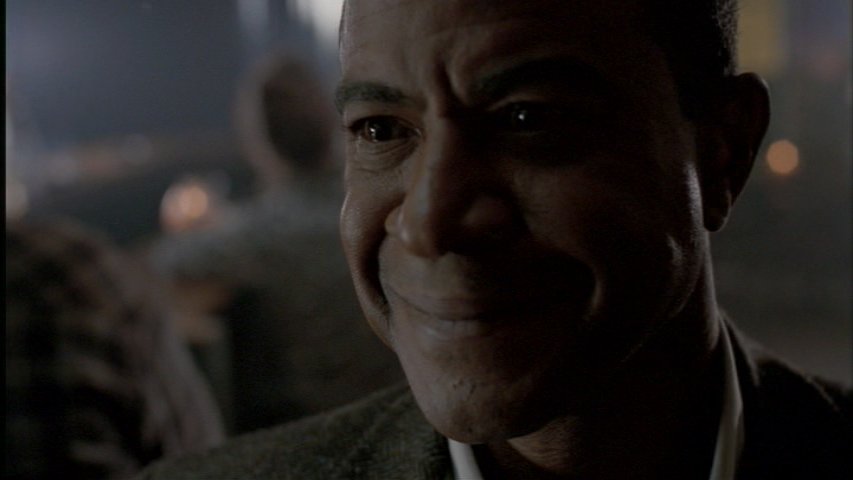
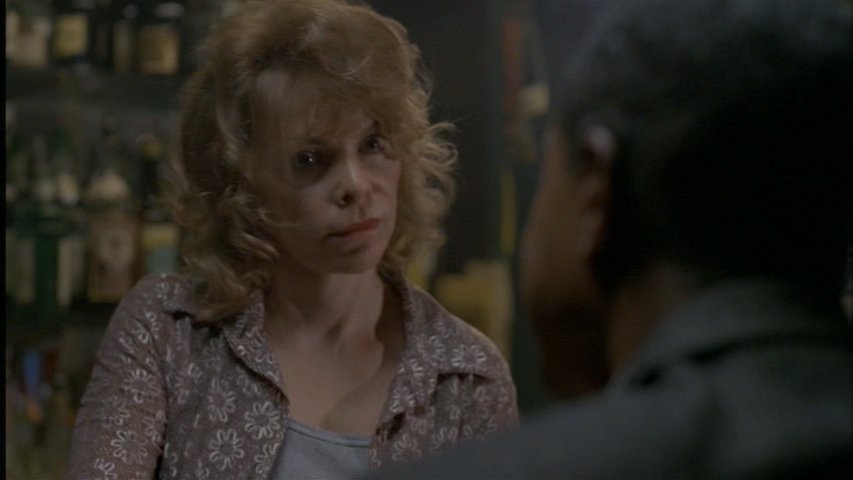
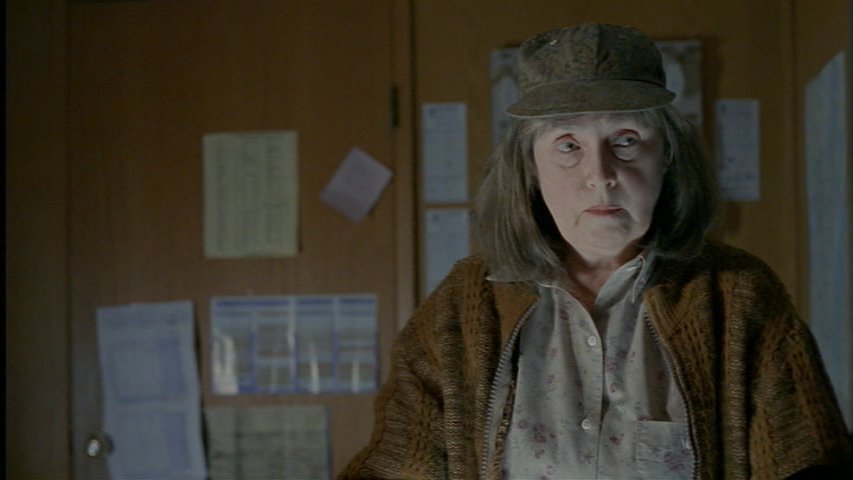
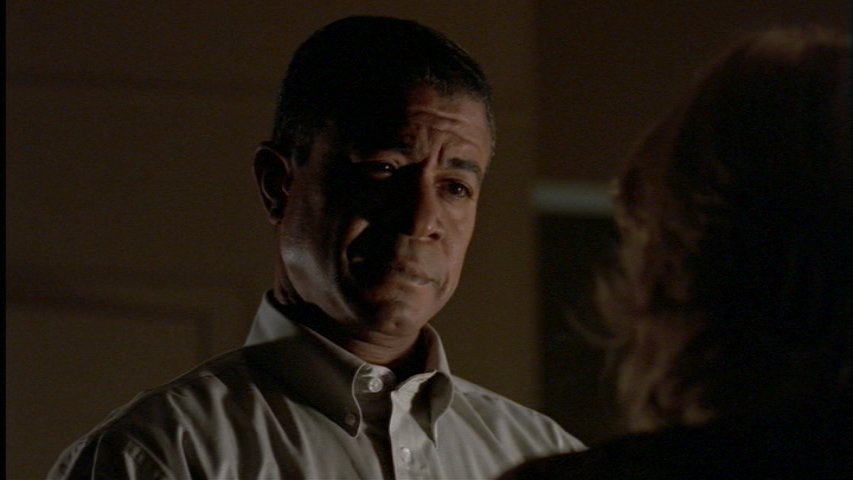
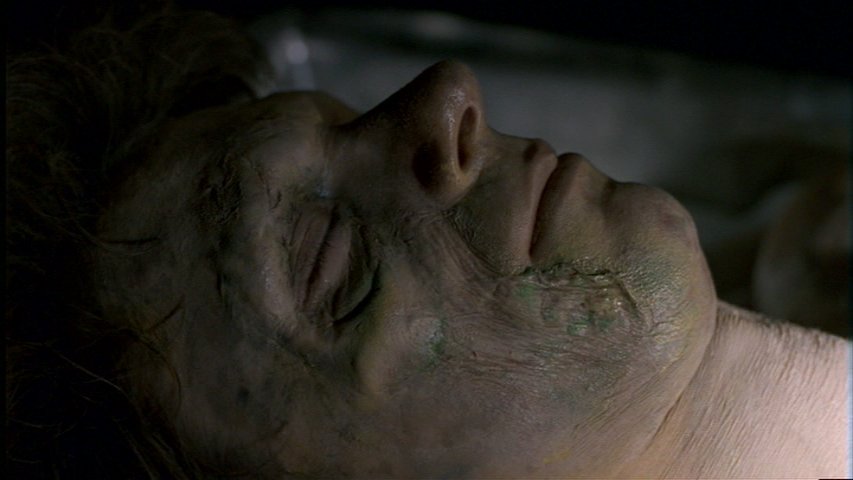
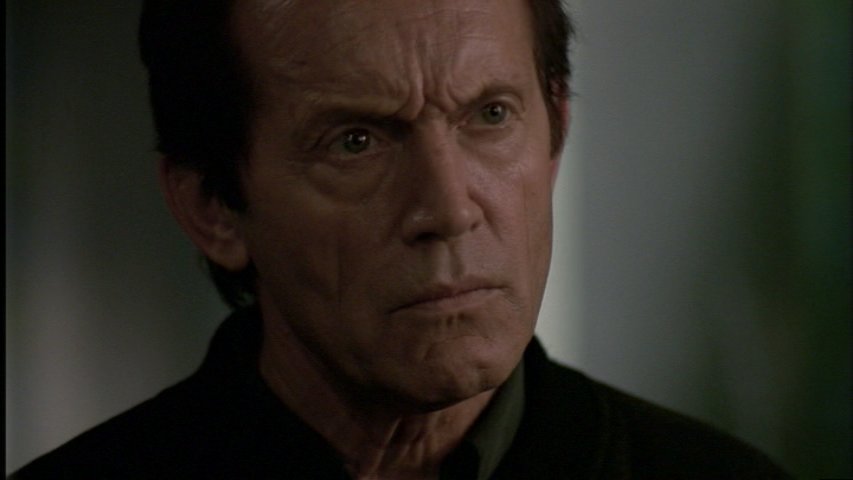
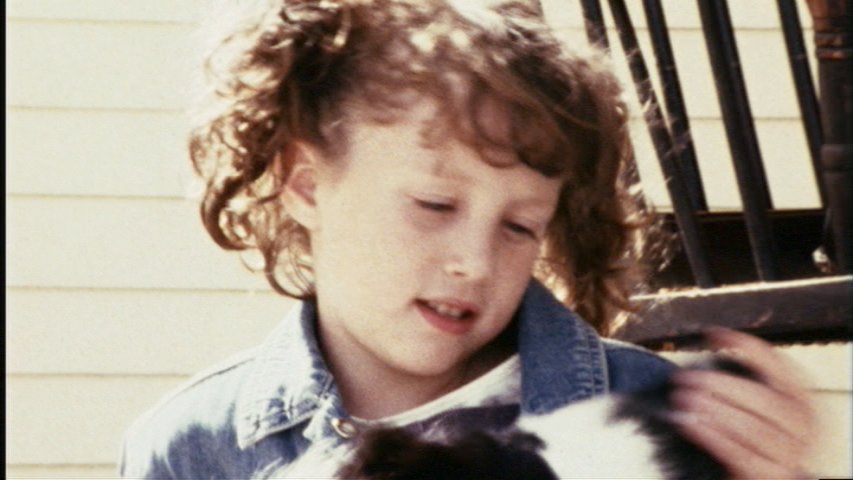
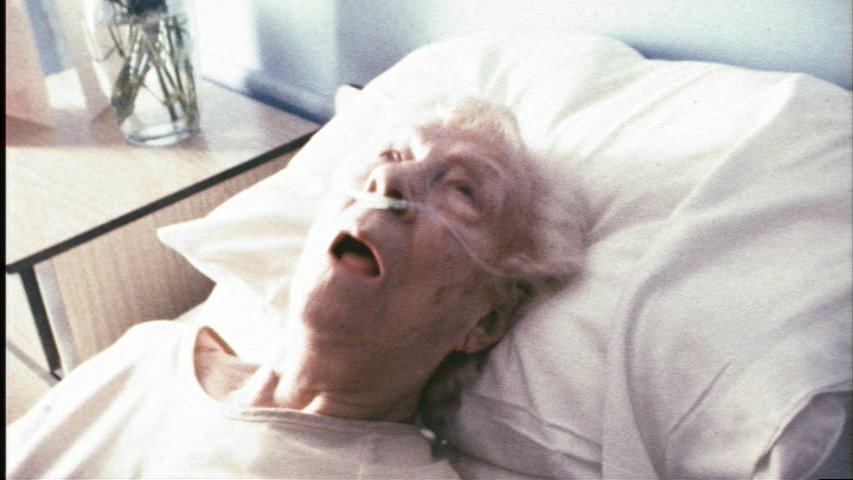
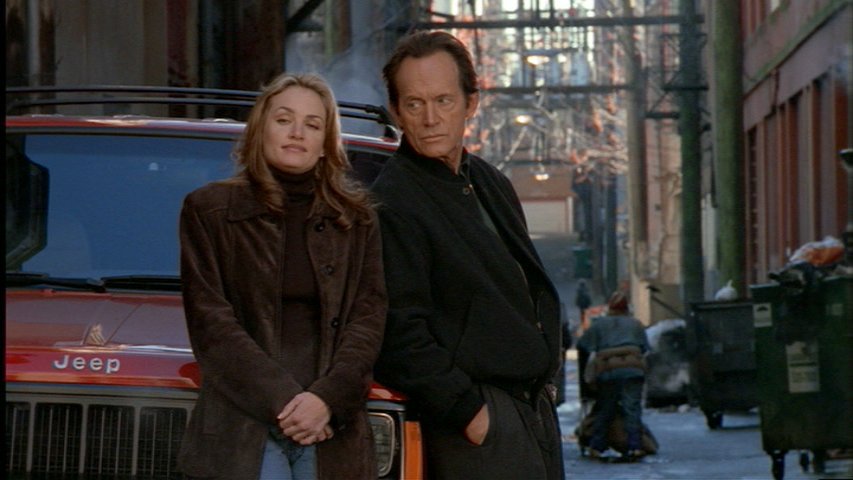
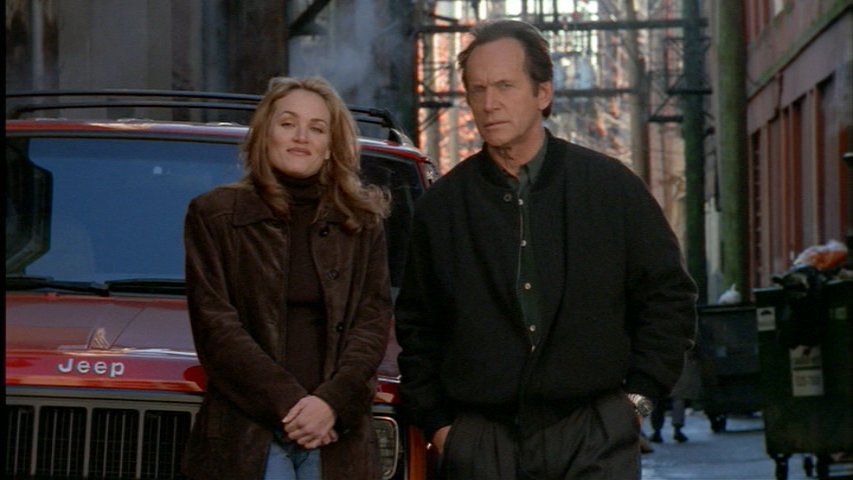
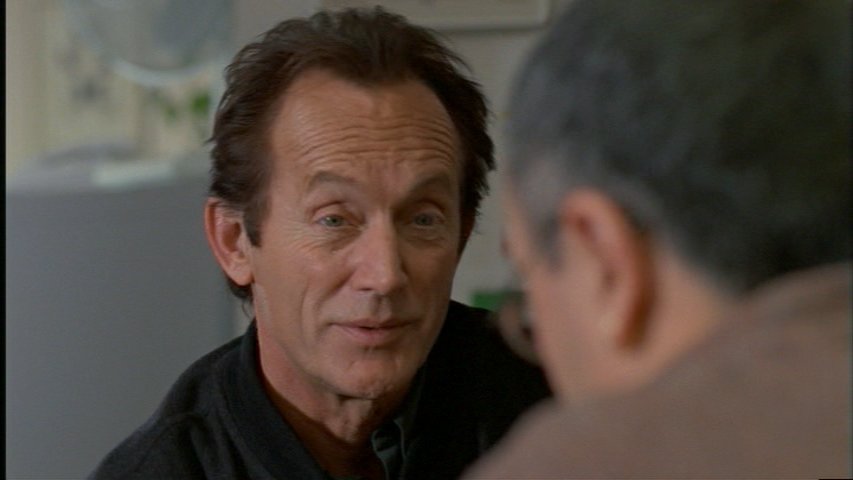
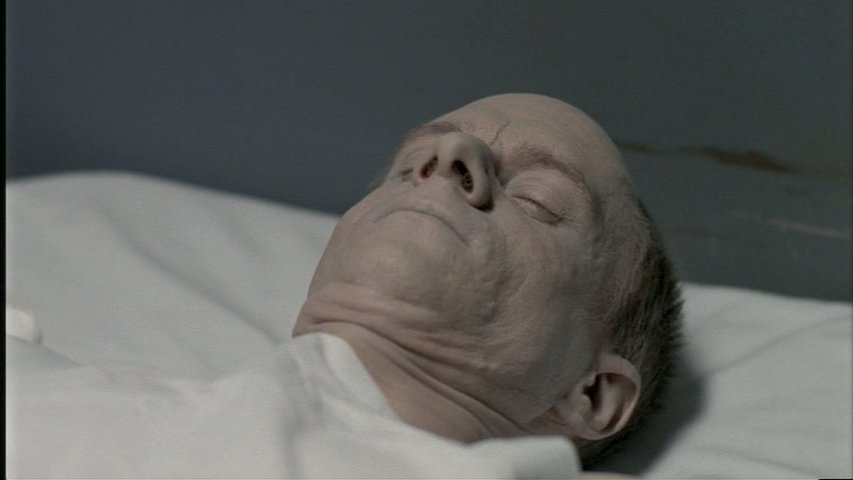
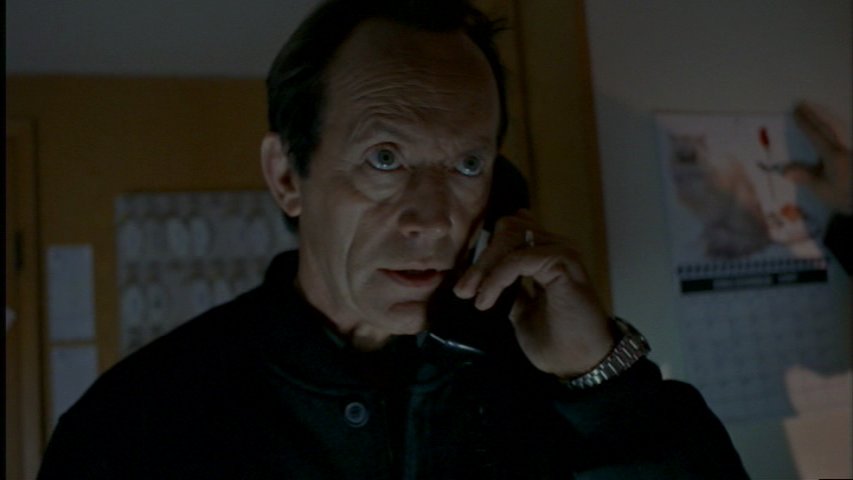
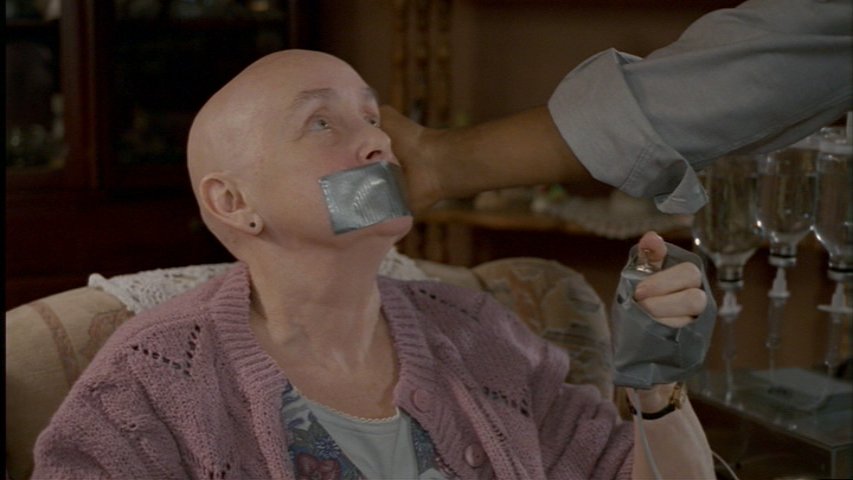
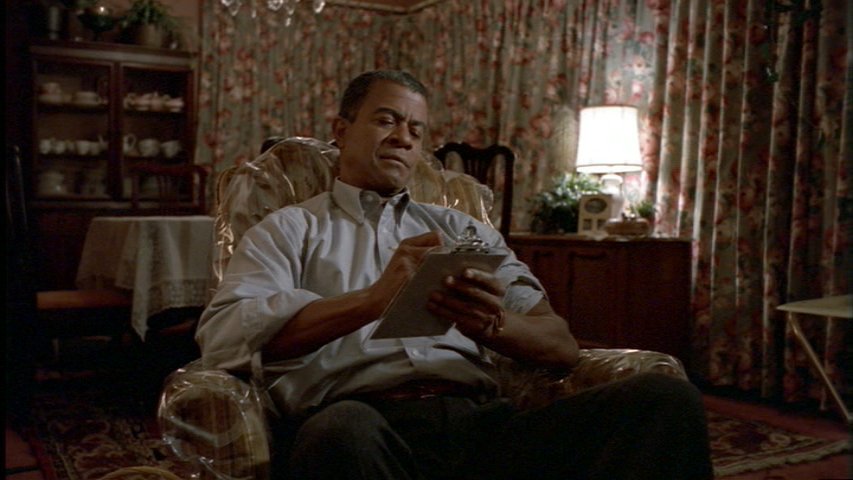
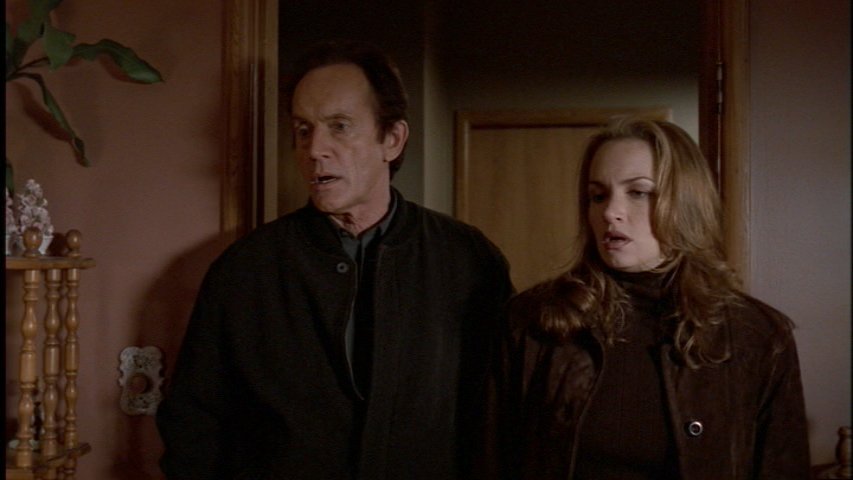
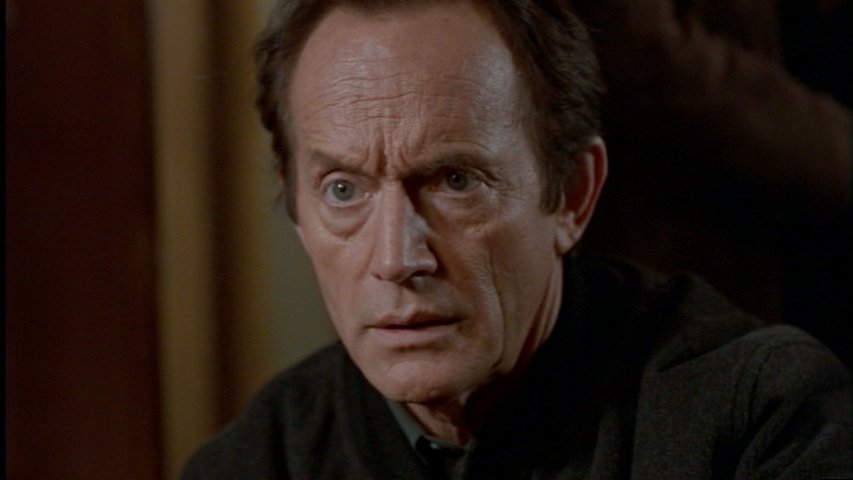
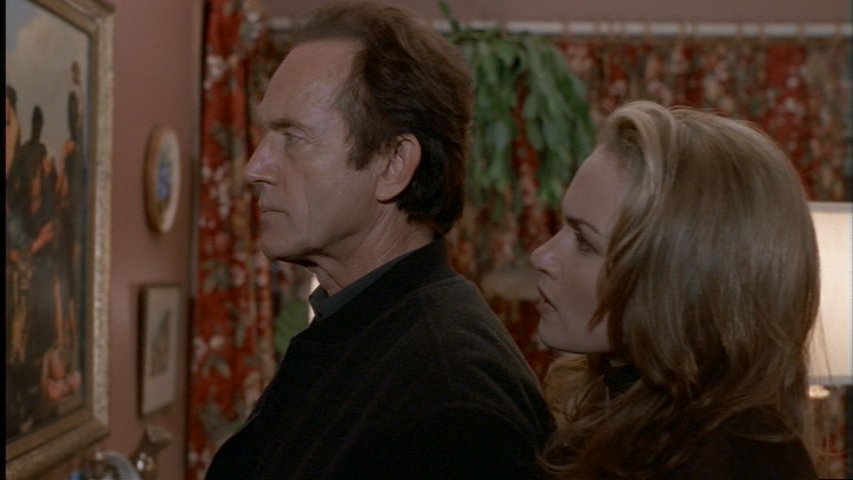
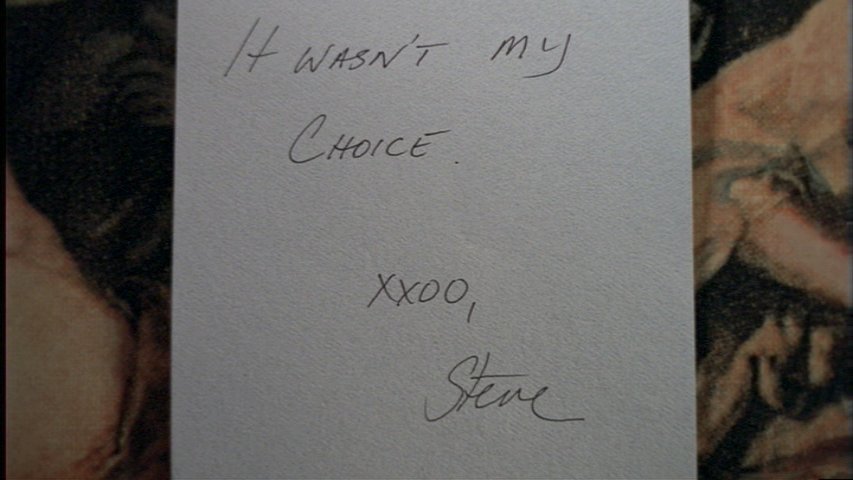
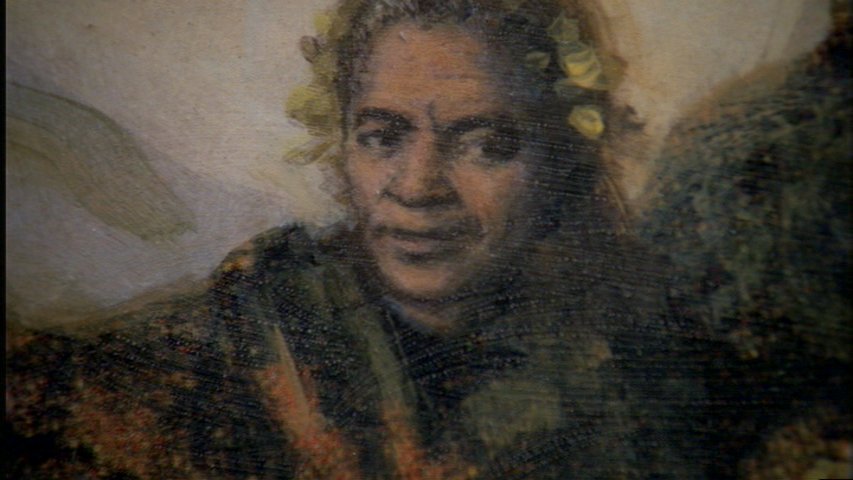
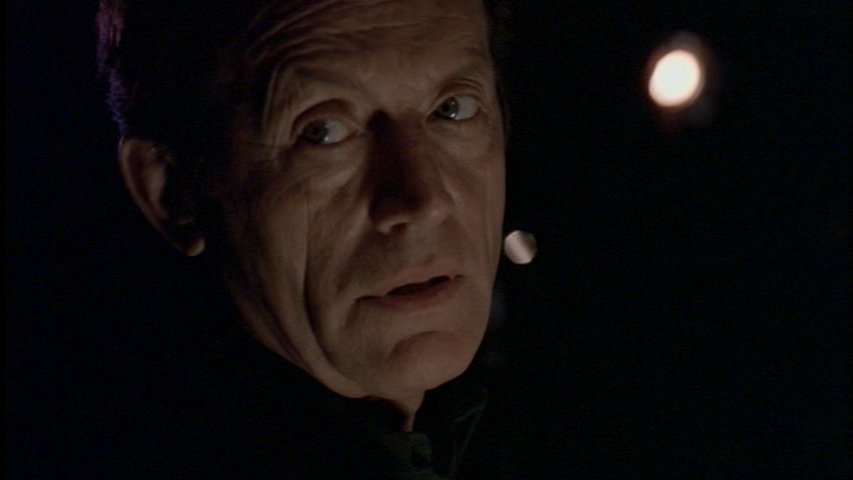
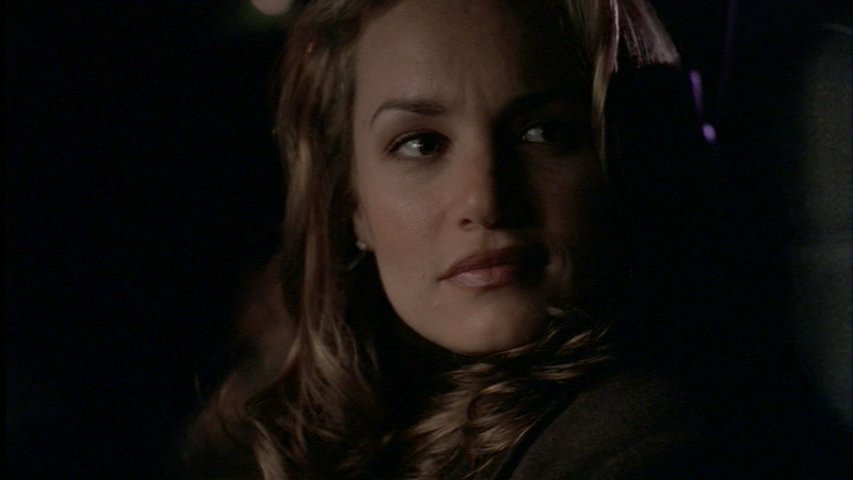
Images from Chris Carter's Millennium episode: Goodbye Charlie

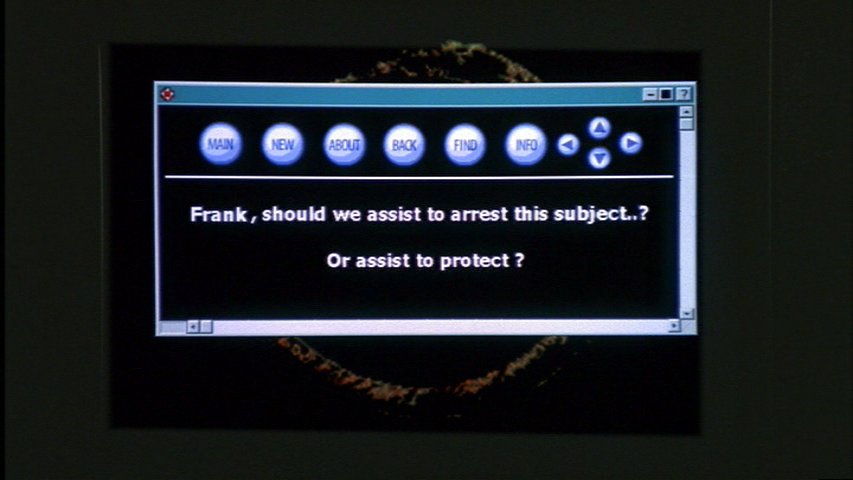
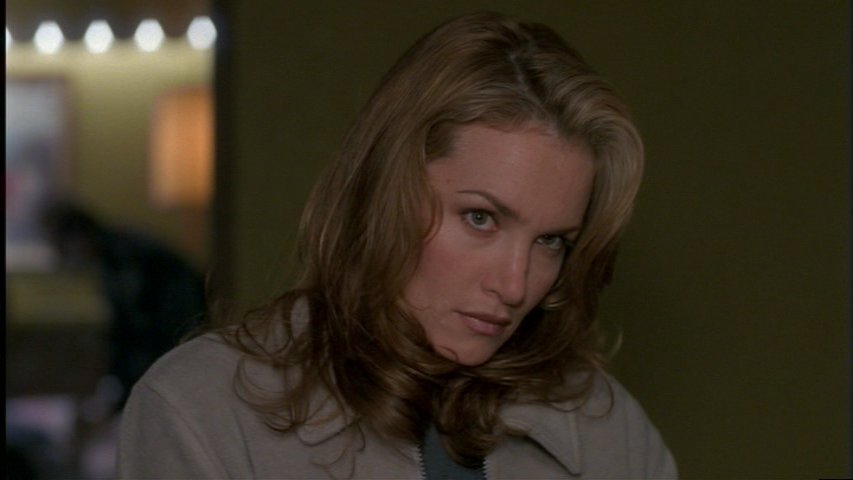
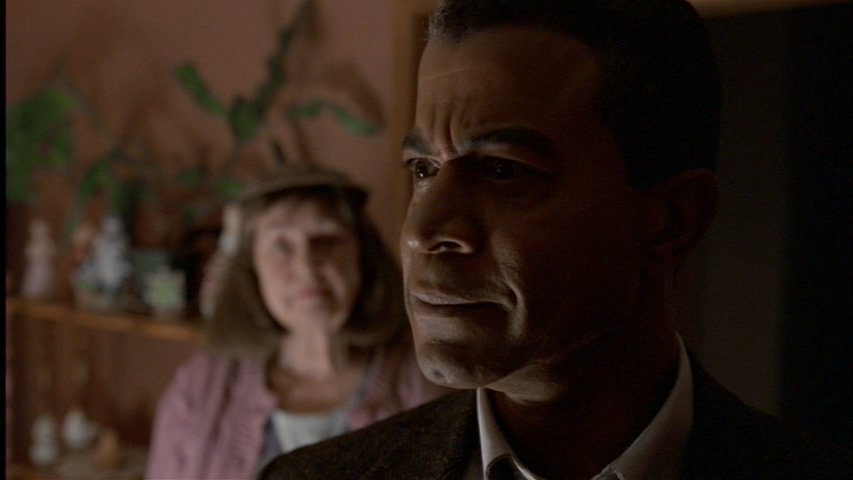
Frank Black and Lara Means, teamed as partners, are pulled into the case of an emotional man who assists unhappy folks carry out well-planned suicides. The two investigators, wondering whether the evidence speaks more of murder than of compassion, become entangled within the ethics of the case while pressured with the job of preventing further death.


Goodbye Charlie


Season:

2

MLM Code:

#MLM-210

Production Code:

5C10

Original Airdate:

1998-01-09


Further pages related to this episode of Millennium, Goodbye Charlie:

Full Episode Profile |  Synopsis | Credit List | Transcript | Promotional Photos

Previous | Next


There are 85 images available for this episode. Simply click on an image to view it full size.


Thumbnail image 1 from the Millennium episode Goodbye Charlie.
Thumbnail image 2 from the Millennium episode Goodbye Charlie.
Thumbnail image 3 from the Millennium episode Goodbye Charlie.
Thumbnail image 4 from the Millennium episode Goodbye Charlie.
Thumbnail image 5 from the Millennium episode Goodbye Charlie.
Thumbnail image 6 from the Millennium episode Goodbye Charlie.
Thumbnail image 7 from the Millennium episode Goodbye Charlie.
Thumbnail image 8 from the Millennium episode Goodbye Charlie.
Thumbnail image 9 from the Millennium episode Goodbye Charlie.
Thumbnail image 10 from the Millennium episode Goodbye Charlie.
Thumbnail image 11 from the Millennium episode Goodbye Charlie.
Thumbnail image 12 from the Millennium episode Goodbye Charlie.
Thumbnail image 13 from the Millennium episode Goodbye Charlie.
Thumbnail image 14 from the Millennium episode Goodbye Charlie.
Thumbnail image 15 from the Millennium episode Goodbye Charlie.
Thumbnail image 16 from the Millennium episode Goodbye Charlie.
Thumbnail image 17 from the Millennium episode Goodbye Charlie.
Thumbnail image 18 from the Millennium episode Goodbye Charlie.
Thumbnail image 19 from the Millennium episode Goodbye Charlie.
Thumbnail image 20 from the Millennium episode Goodbye Charlie.
Thumbnail image 21 from the Millennium episode Goodbye Charlie.
Thumbnail image 22 from the Millennium episode Goodbye Charlie.
Thumbnail image 23 from the Millennium episode Goodbye Charlie.
Thumbnail image 24 from the Millennium episode Goodbye Charlie.
Thumbnail image 25 from the Millennium episode Goodbye Charlie.
Thumbnail image 26 from the Millennium episode Goodbye Charlie.
Thumbnail image 27 from the Millennium episode Goodbye Charlie.
Thumbnail image 28 from the Millennium episode Goodbye Charlie.
Thumbnail image 29 from the Millennium episode Goodbye Charlie.
Thumbnail image 30 from the Millennium episode Goodbye Charlie.
Thumbnail image 31 from the Millennium episode Goodbye Charlie.
Thumbnail image 32 from the Millennium episode Goodbye Charlie.
Thumbnail image 33 from the Millennium episode Goodbye Charlie.
Thumbnail image 34 from the Millennium episode Goodbye Charlie.
Thumbnail image 35 from the Millennium episode Goodbye Charlie.
Thumbnail image 36 from the Millennium episode Goodbye Charlie.
Thumbnail image 37 from the Millennium episode Goodbye Charlie.
Thumbnail image 38 from the Millennium episode Goodbye Charlie.
Thumbnail image 39 from the Millennium episode Goodbye Charlie.
Thumbnail image 40 from the Millennium episode Goodbye Charlie.
Thumbnail image 41 from the Millennium episode Goodbye Charlie.
Thumbnail image 42 from the Millennium episode Goodbye Charlie.
Thumbnail image 43 from the Millennium episode Goodbye Charlie.
Thumbnail image 44 from the Millennium episode Goodbye Charlie.
Thumbnail image 45 from the Millennium episode Goodbye Charlie.
Thumbnail image 46 from the Millennium episode Goodbye Charlie.
Thumbnail image 47 from the Millennium episode Goodbye Charlie.
Thumbnail image 48 from the Millennium episode Goodbye Charlie.
Thumbnail image 49 from the Millennium episode Goodbye Charlie.
Thumbnail image 50 from the Millennium episode Goodbye Charlie.
Thumbnail image 51 from the Millennium episode Goodbye Charlie.
Thumbnail image 52 from the Millennium episode Goodbye Charlie.
Thumbnail image 53 from the Millennium episode Goodbye Charlie.
Thumbnail image 54 from the Millennium episode Goodbye Charlie.
Thumbnail image 55 from the Millennium episode Goodbye Charlie.
Thumbnail image 56 from the Millennium episode Goodbye Charlie.
Thumbnail image 57 from the Millennium episode Goodbye Charlie.
Thumbnail image 58 from the Millennium episode Goodbye Charlie.
Thumbnail image 59 from the Millennium episode Goodbye Charlie.
Thumbnail image 60 from the Millennium episode Goodbye Charlie.
Thumbnail image 61 from the Millennium episode Goodbye Charlie.
Thumbnail image 62 from the Millennium episode Goodbye Charlie.
Thumbnail image 63 from the Millennium episode Goodbye Charlie.
Thumbnail image 64 from the Millennium episode Goodbye Charlie.
Thumbnail image 65 from the Millennium episode Goodbye Charlie.
Thumbnail image 66 from the Millennium episode Goodbye Charlie.
Thumbnail image 67 from the Millennium episode Goodbye Charlie.
Thumbnail image 68 from the Millennium episode Goodbye Charlie.
Thumbnail image 69 from the Millennium episode Goodbye Charlie.
Thumbnail image 70 from the Millennium episode Goodbye Charlie.
Thumbnail image 71 from the Millennium episode Goodbye Charlie.
Thumbnail image 72 from the Millennium episode Goodbye Charlie.
Thumbnail image 73 from the Millennium episode Goodbye Charlie.
Thumbnail image 74 from the Millennium episode Goodbye Charlie.
Thumbnail image 75 from the Millennium episode Goodbye Charlie.
Thumbnail image 76 from the Millennium episode Goodbye Charlie.
Thumbnail image 77 from the Millennium episode Goodbye Charlie.
Thumbnail image 78 from the Millennium episode Goodbye Charlie.
Thumbnail image 79 from the Millennium episode Goodbye Charlie.
Thumbnail image 80 from the Millennium episode Goodbye Charlie.
Thumbnail image 81 from the Millennium episode Goodbye Charlie.
Thumbnail image 82 from the Millennium episode Goodbye Charlie.
Thumbnail image 83 from the Millennium episode Goodbye Charlie.
Thumbnail image 84 from the Millennium episode Goodbye Charlie.
Thumbnail image 85 from the Millennium episode Goodbye Charlie.

Previous | Next


About these images

Our Millennium Episode and Credits Guide Gallery contains thousands of high quality Millennium episode stills.

Credit: Images from Millennium remain the acknowledged copyright of Twentieth Century Fox Home Entertainment, Inc and its related entities. These screen captures are used for non-profit promotional and education purposes only.