Millennium - This Is Who We Are site logo
Menu

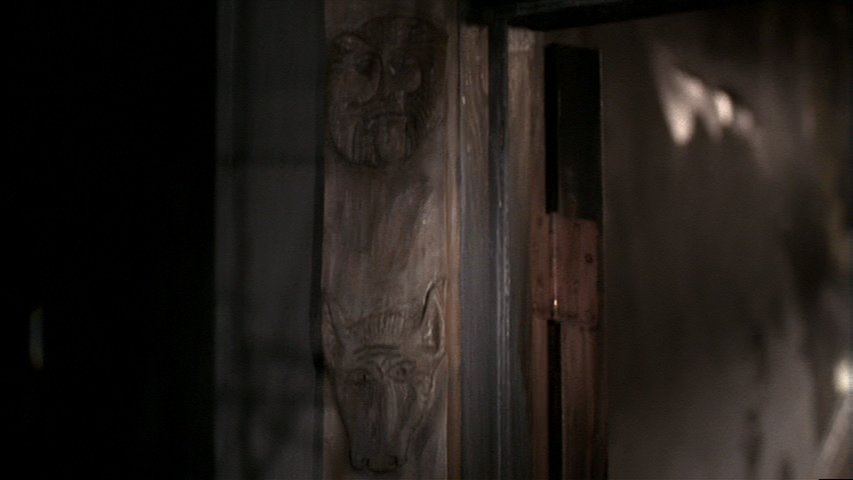
Images from Chris Carter's Millennium episode: Forcing the End

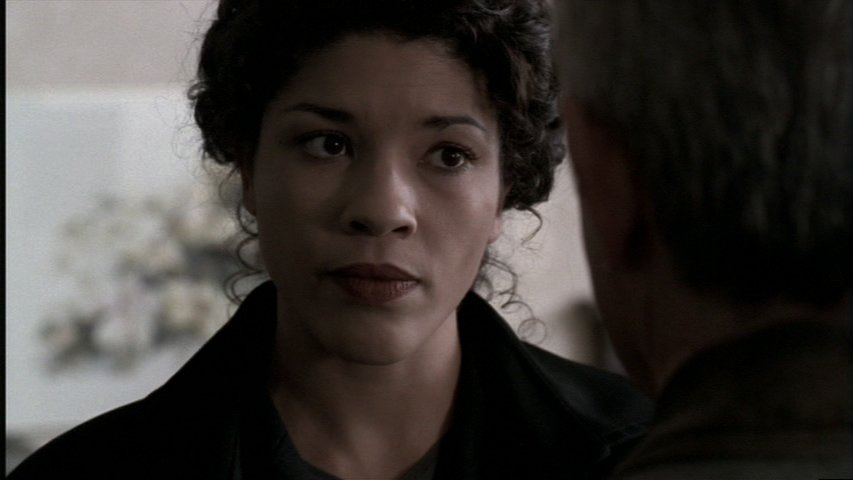
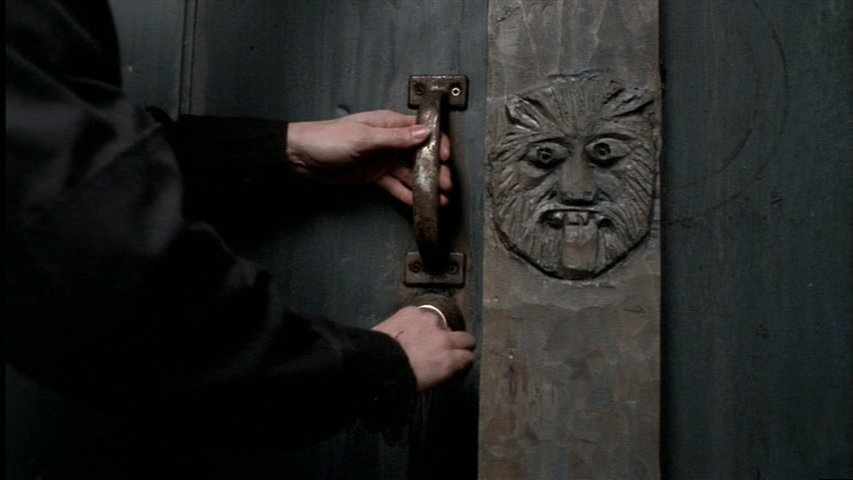
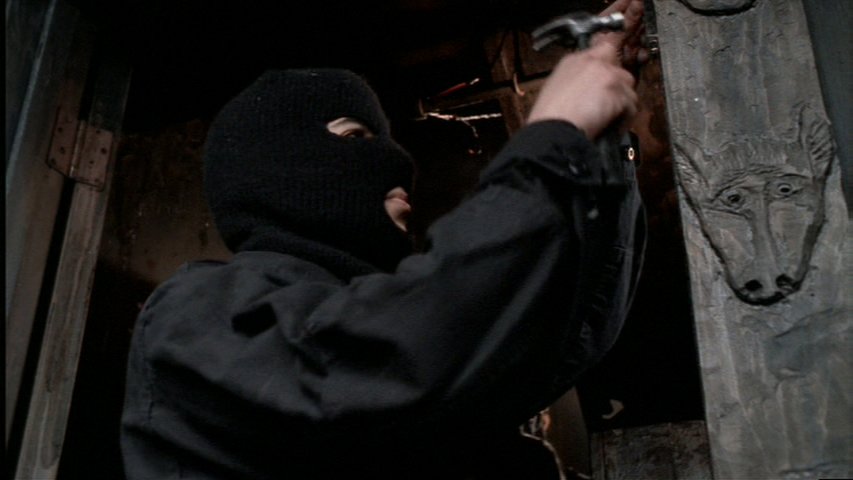
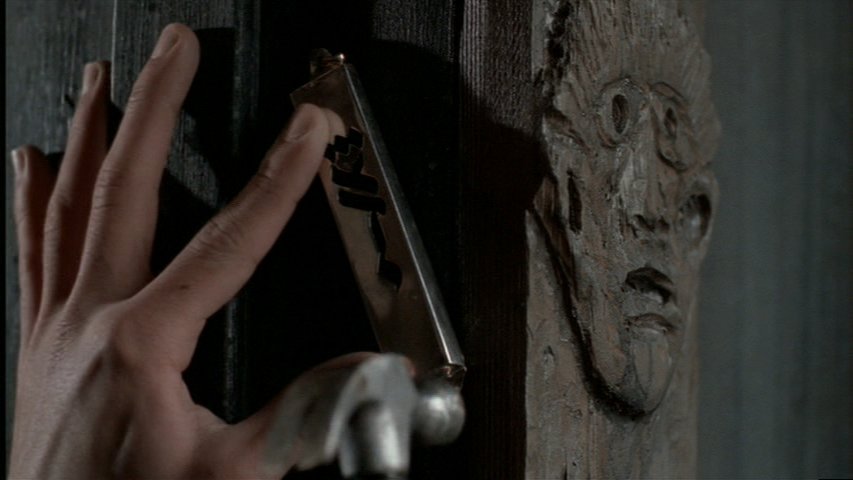
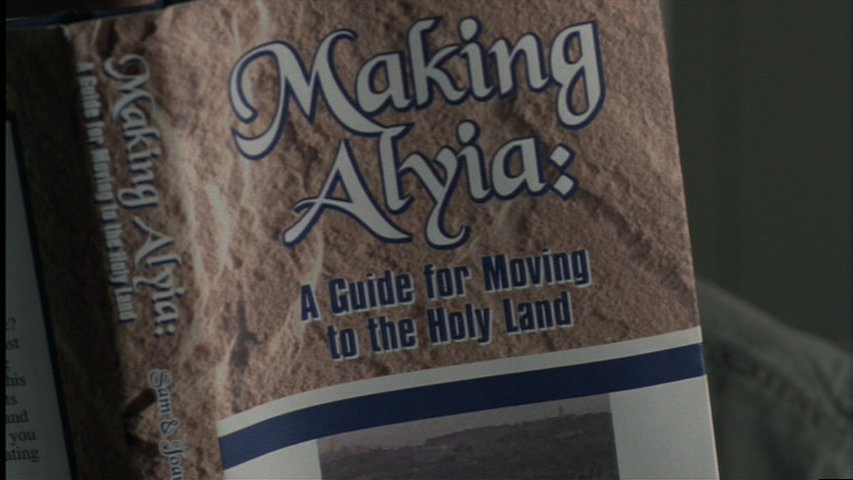
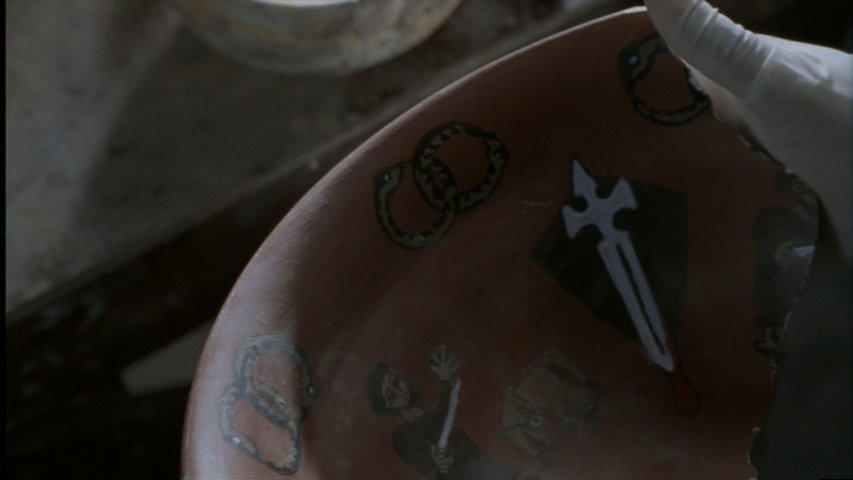
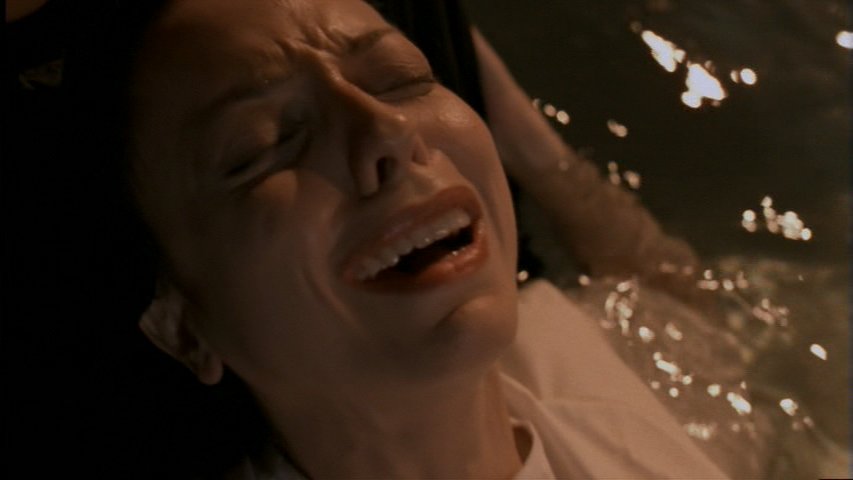
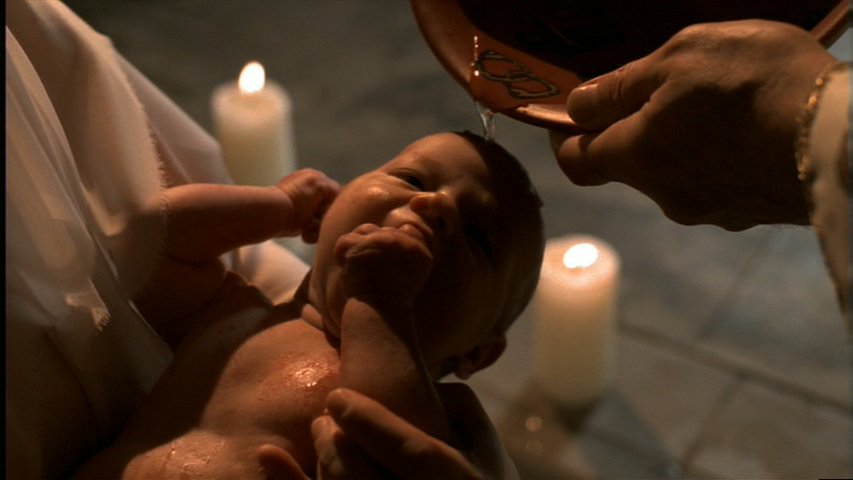
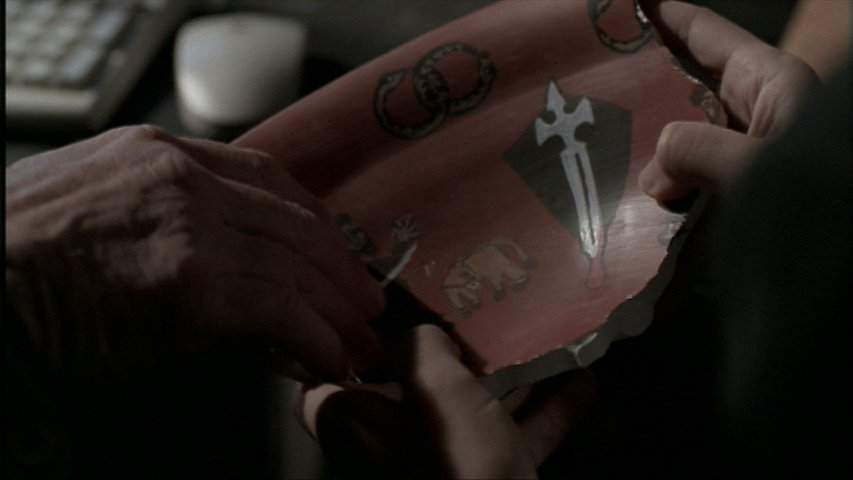
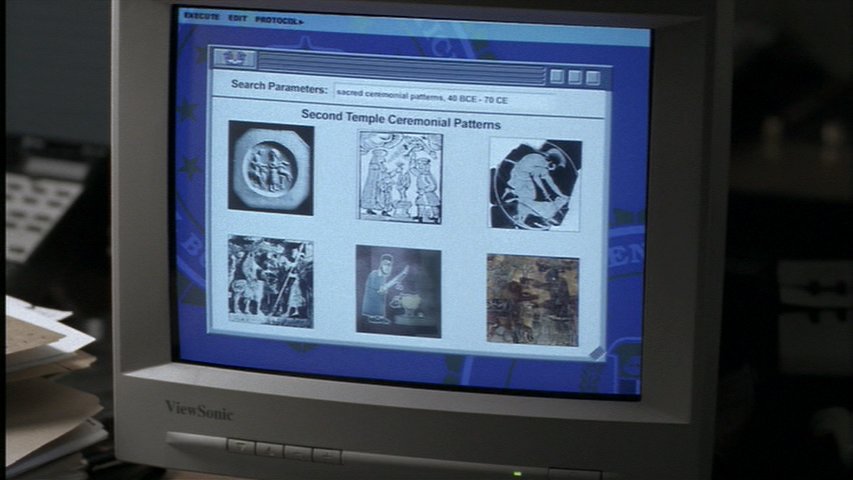
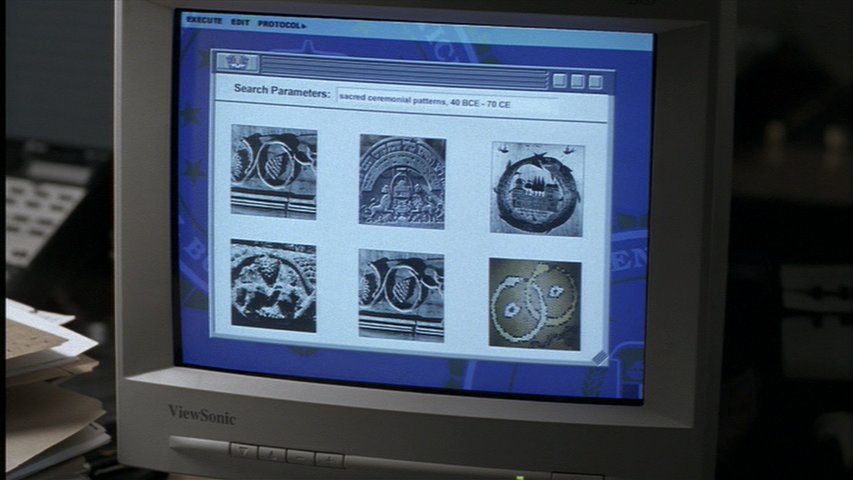
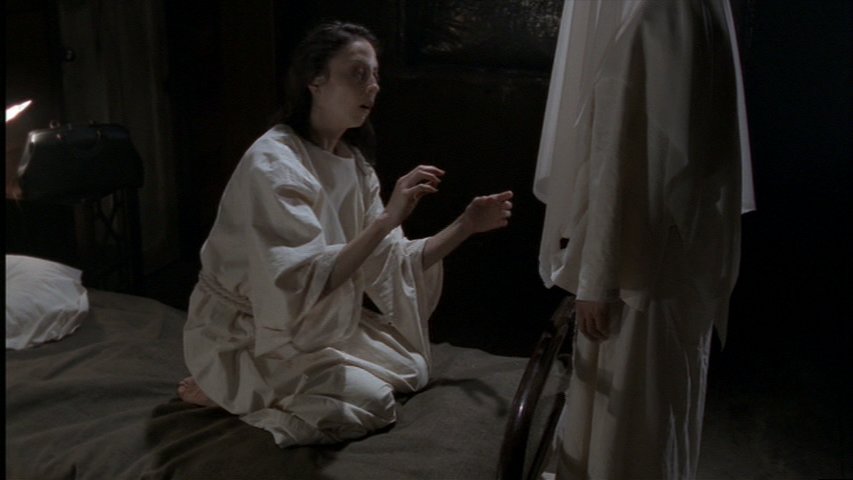
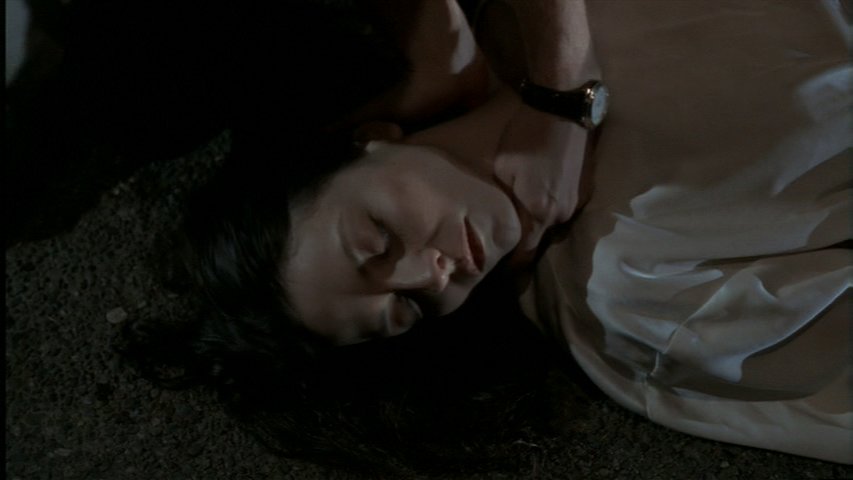
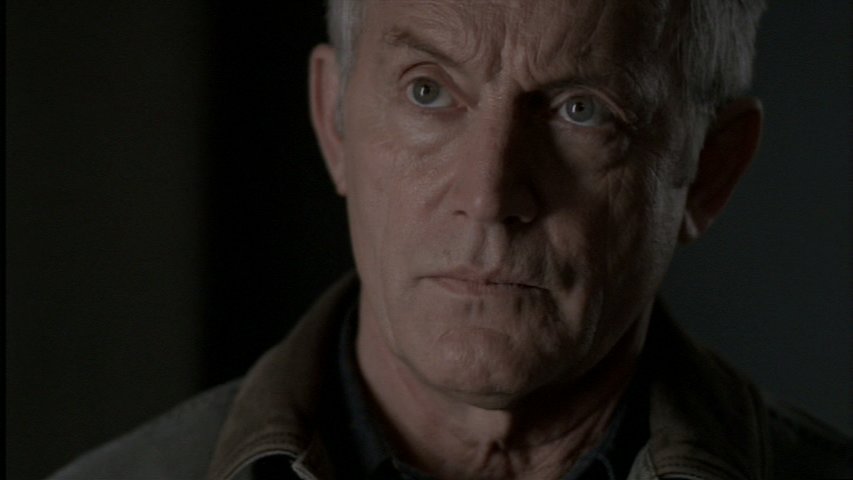
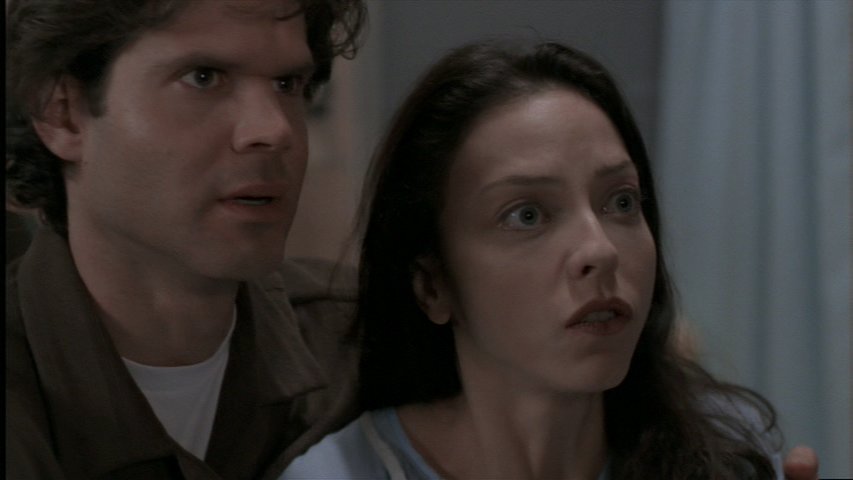
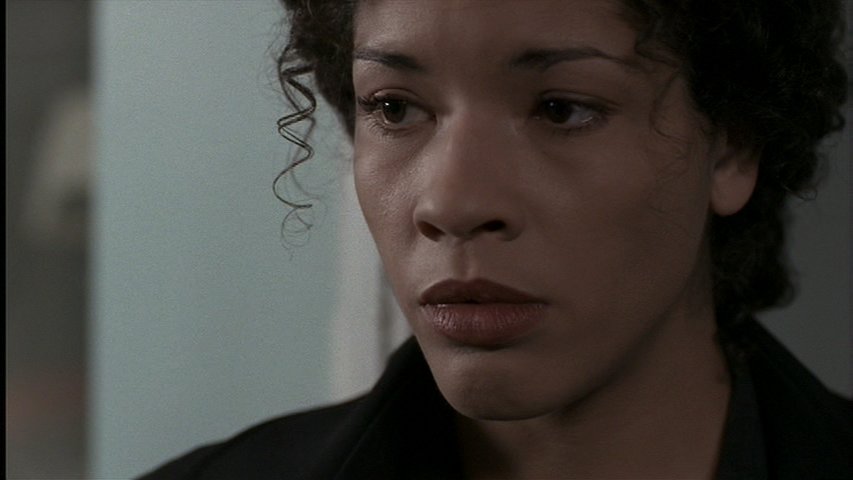
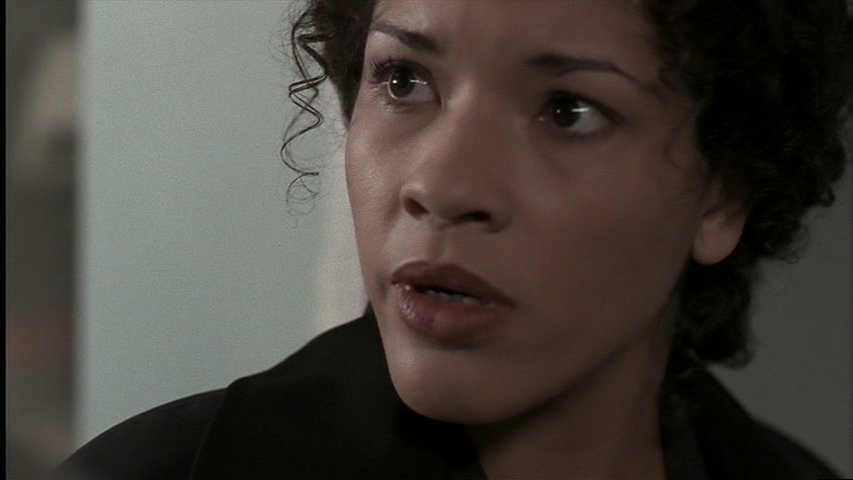
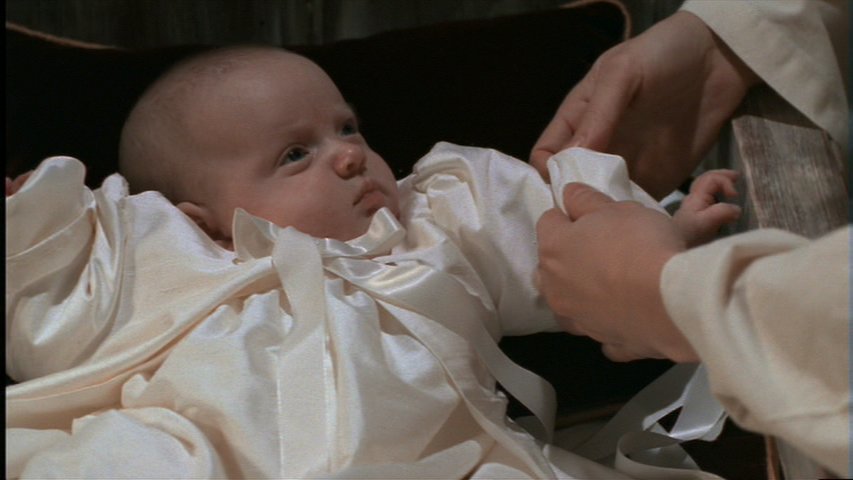
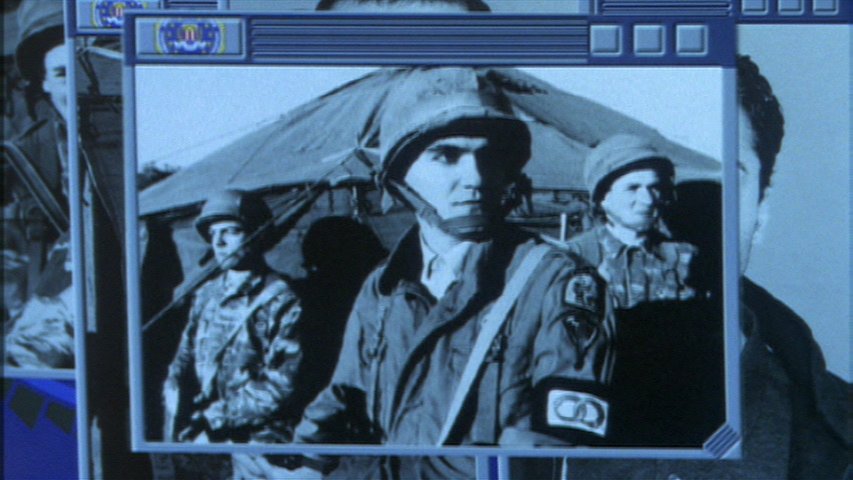
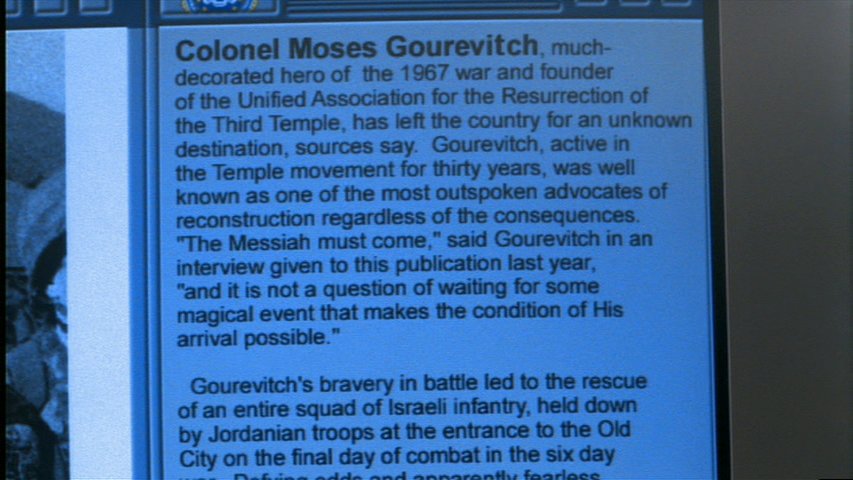
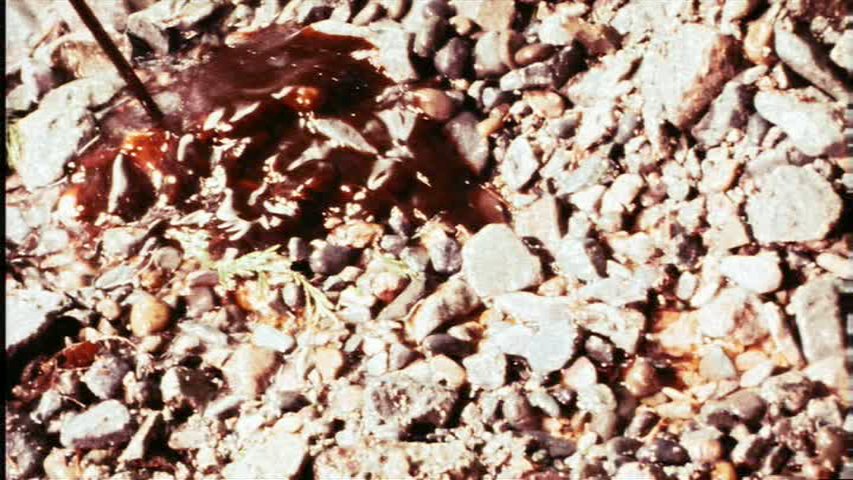
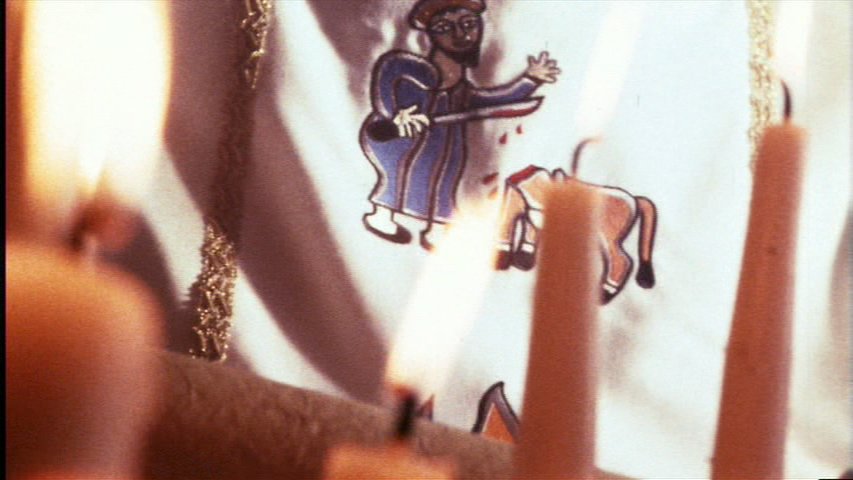
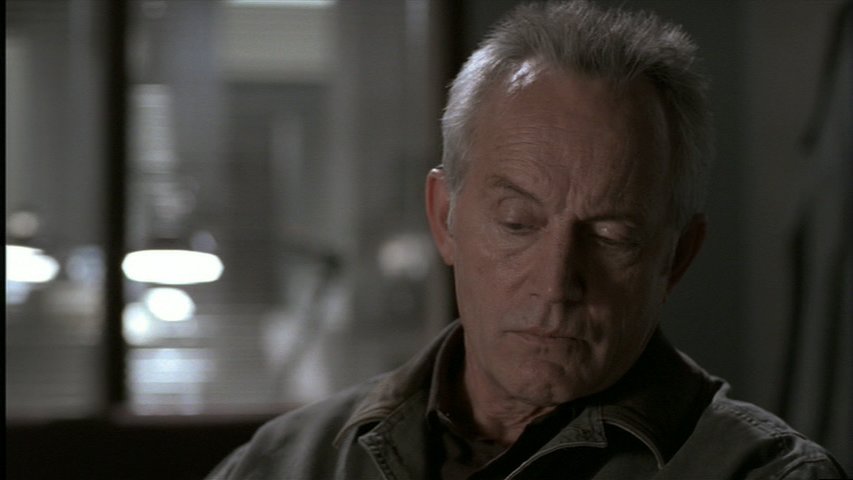
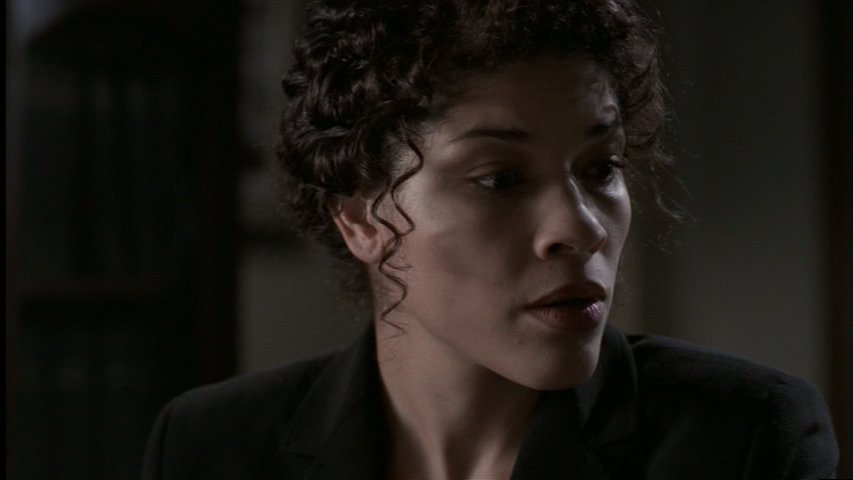
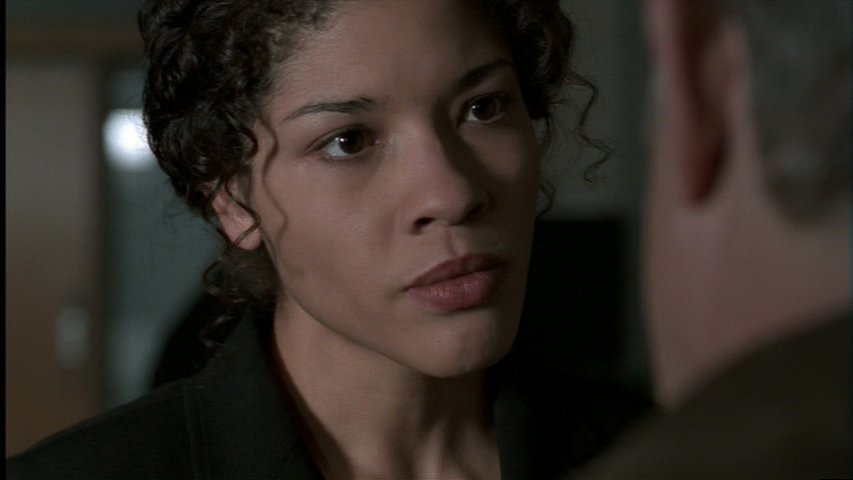
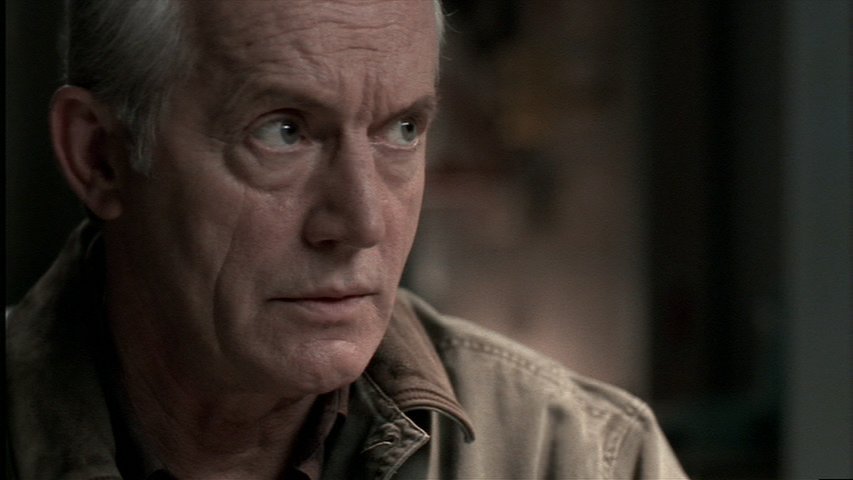
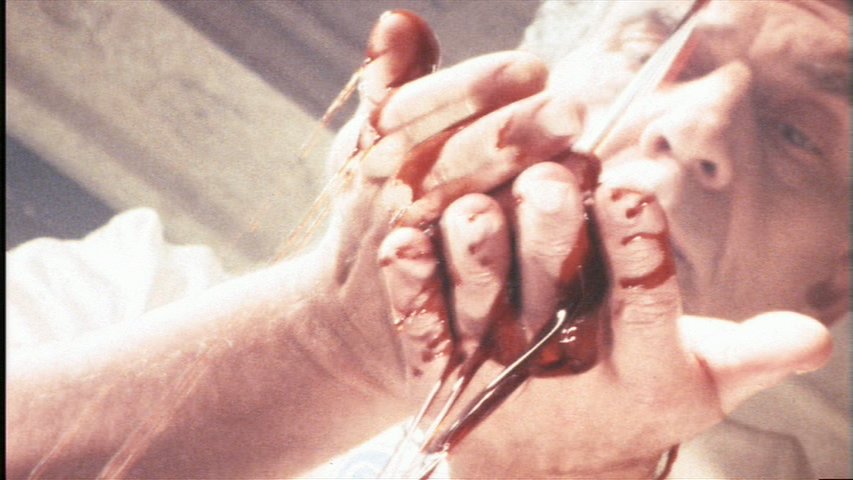
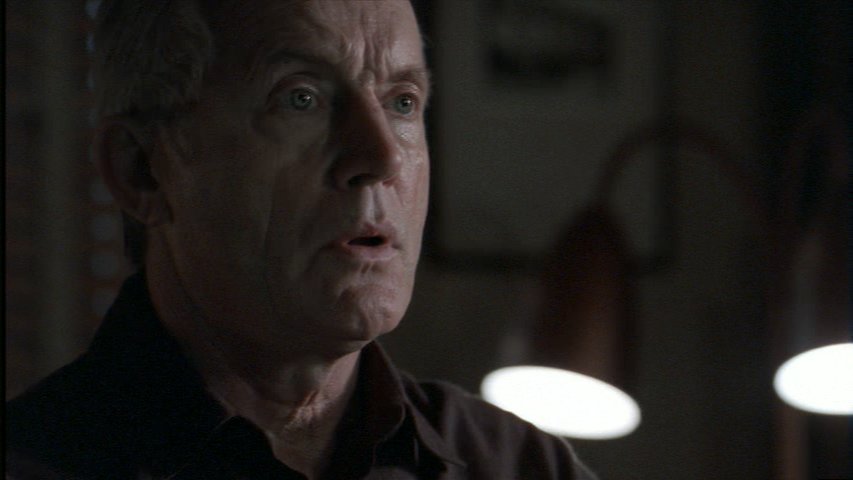
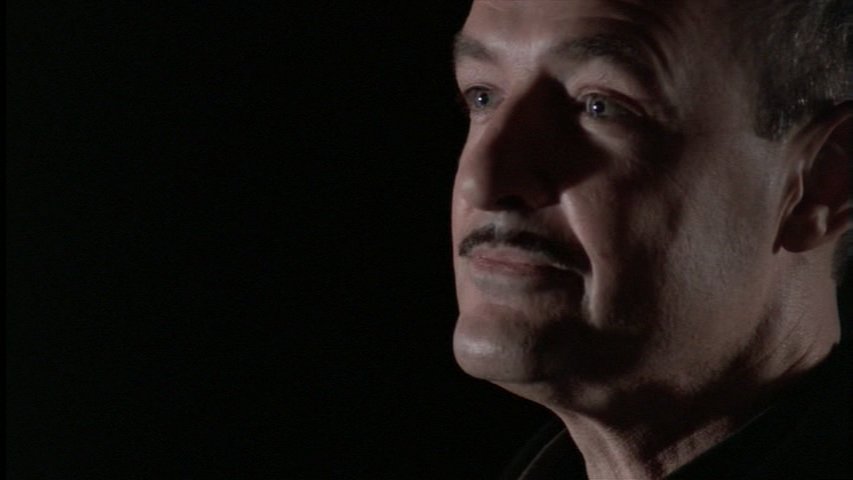
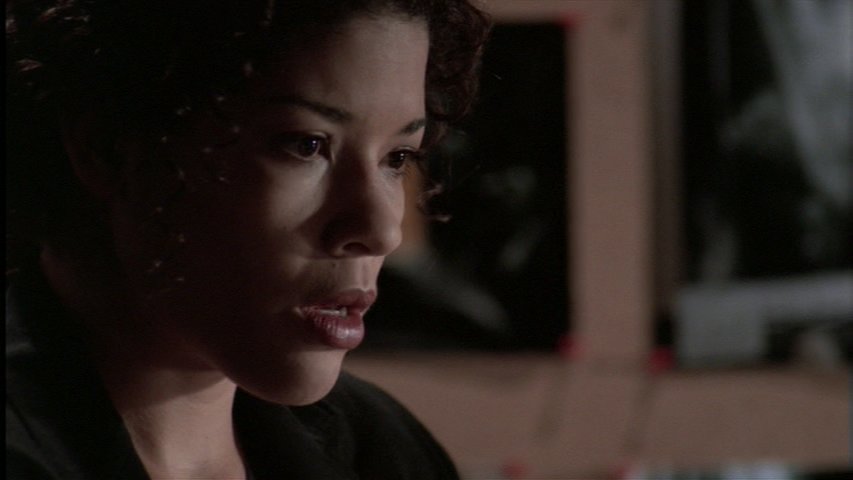
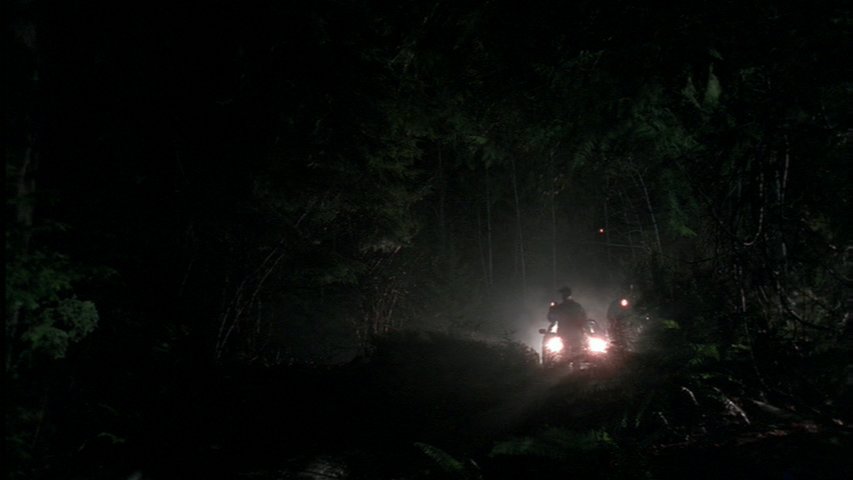
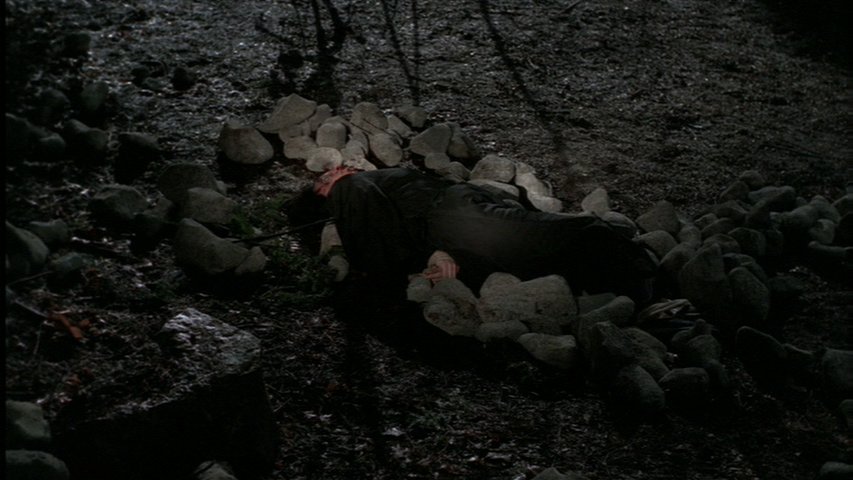
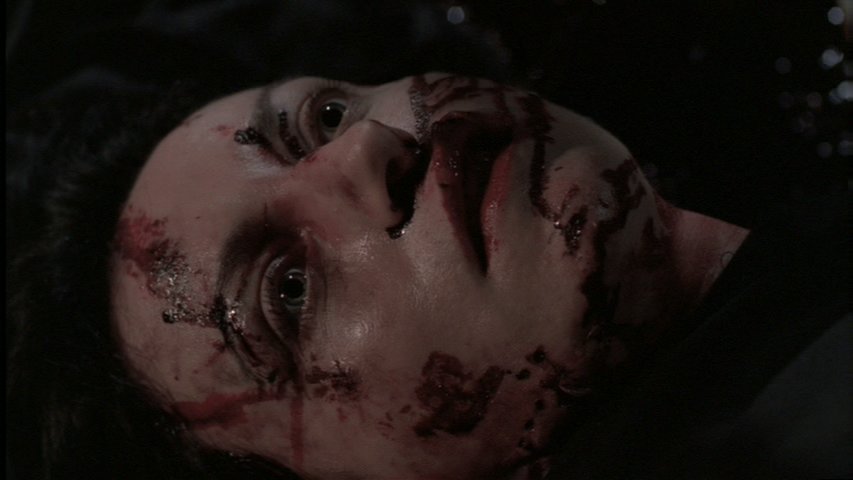
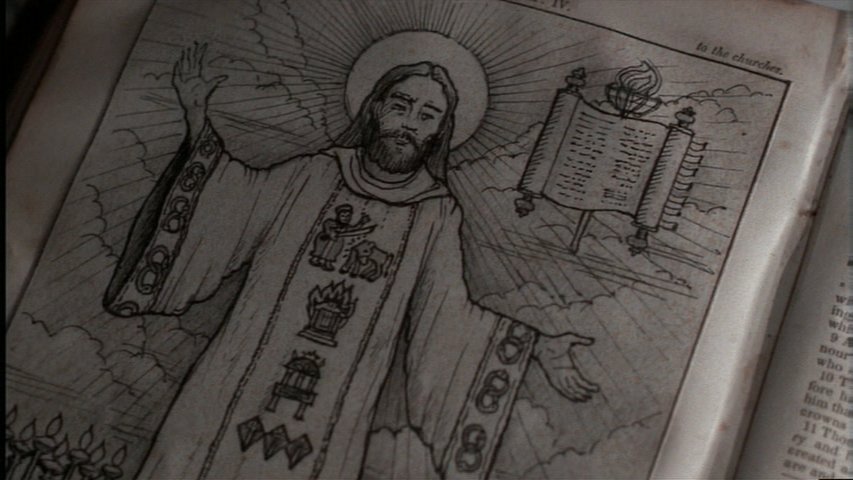
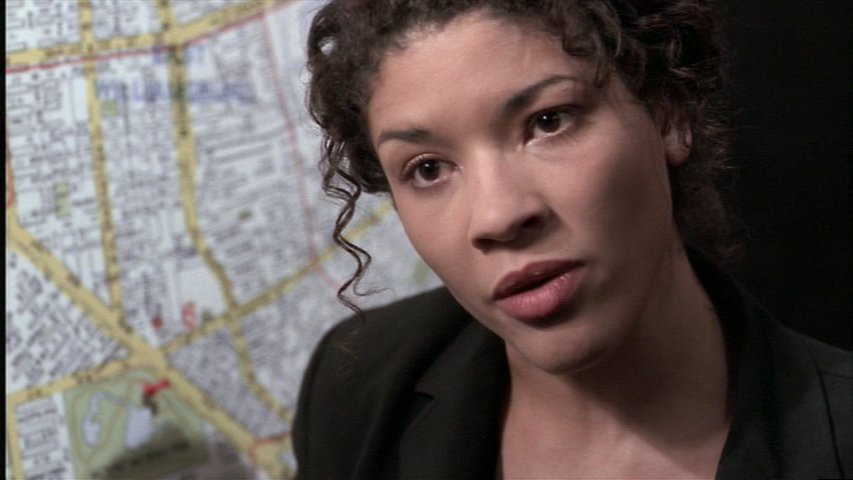
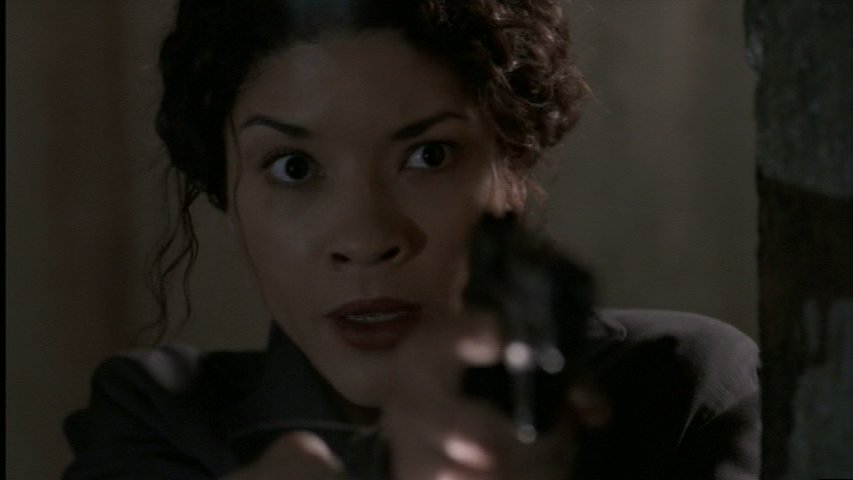
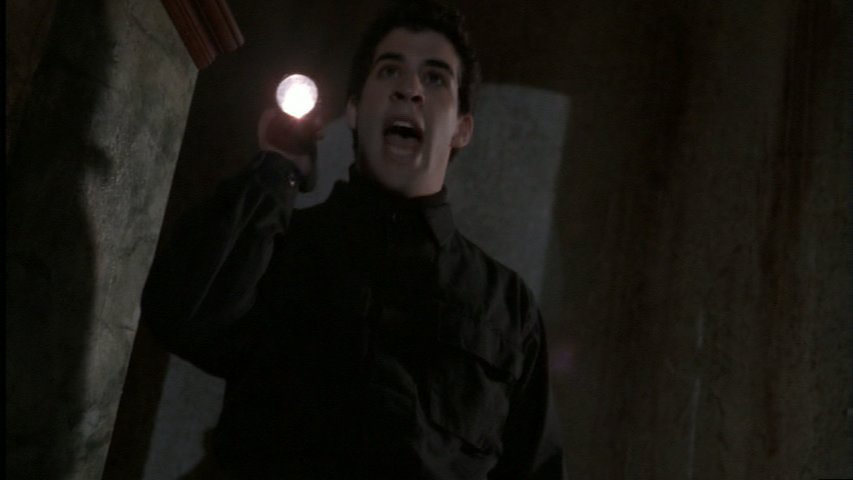
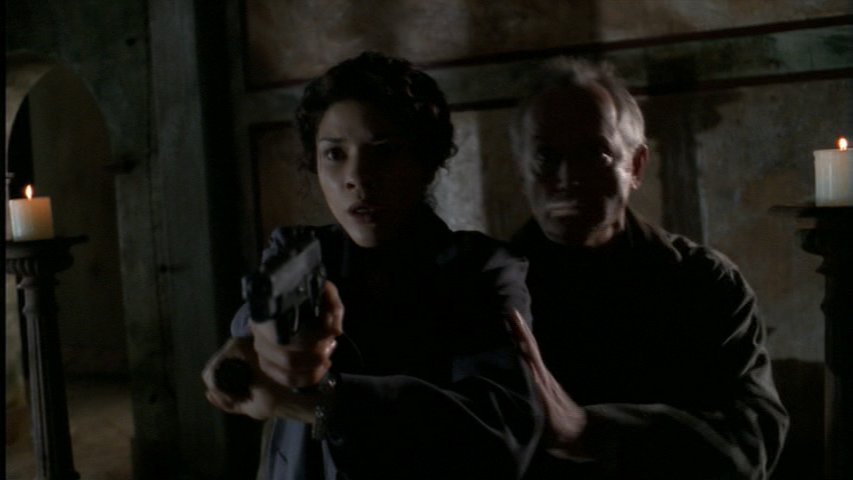
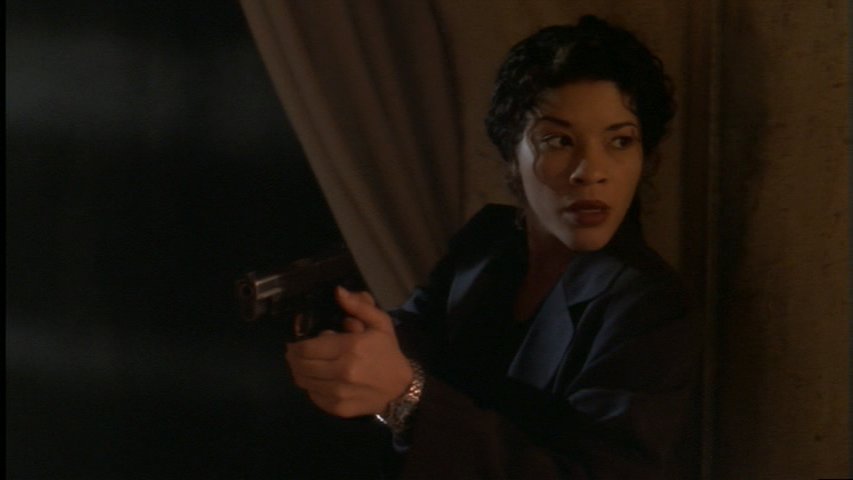
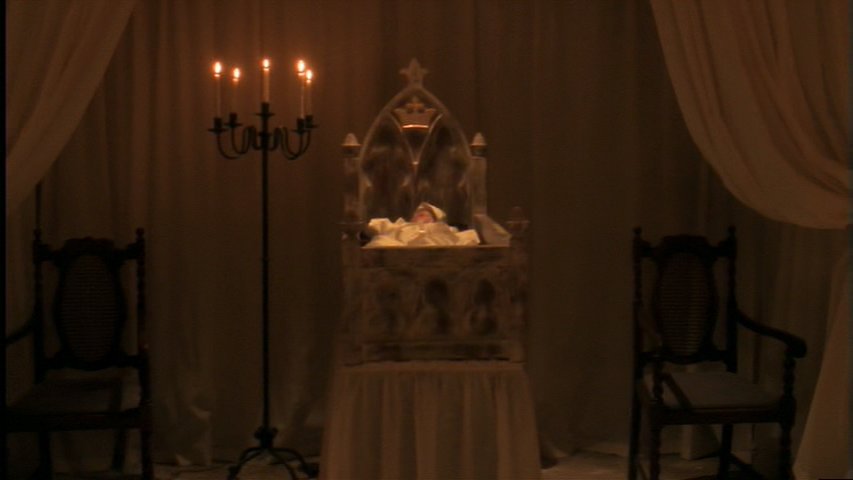
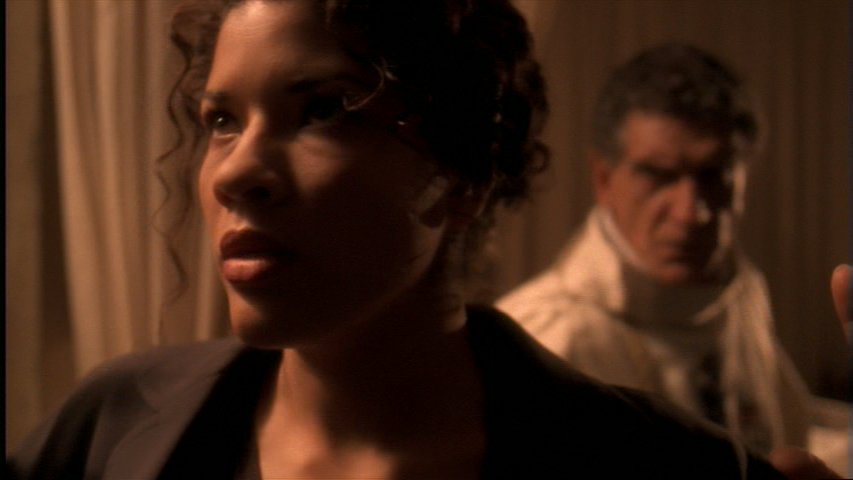
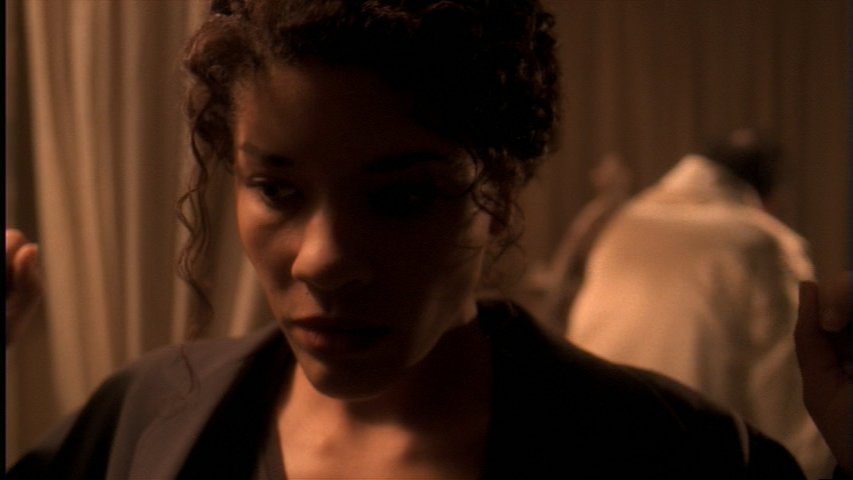
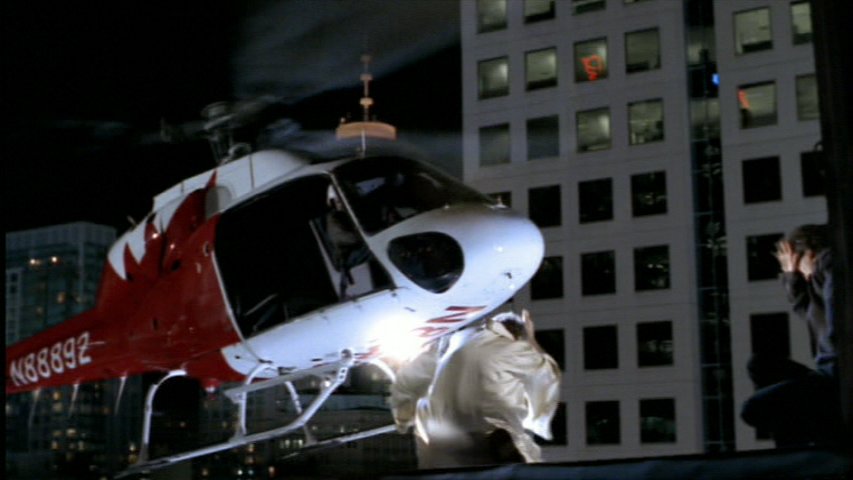
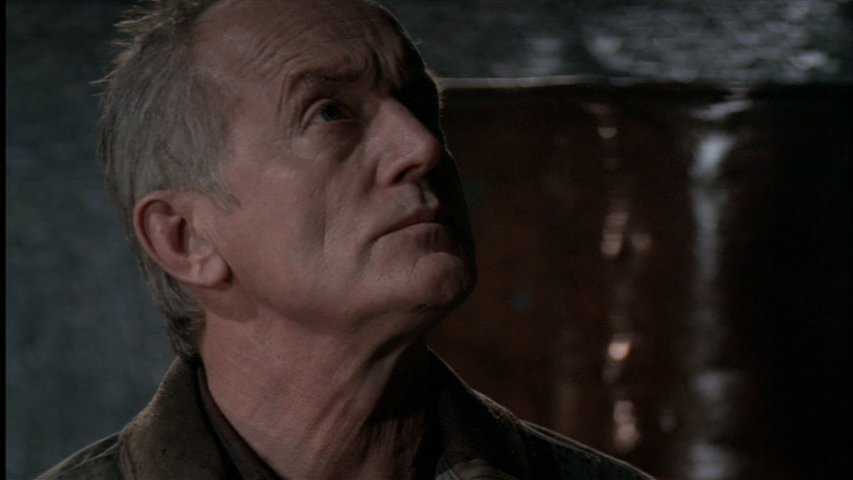
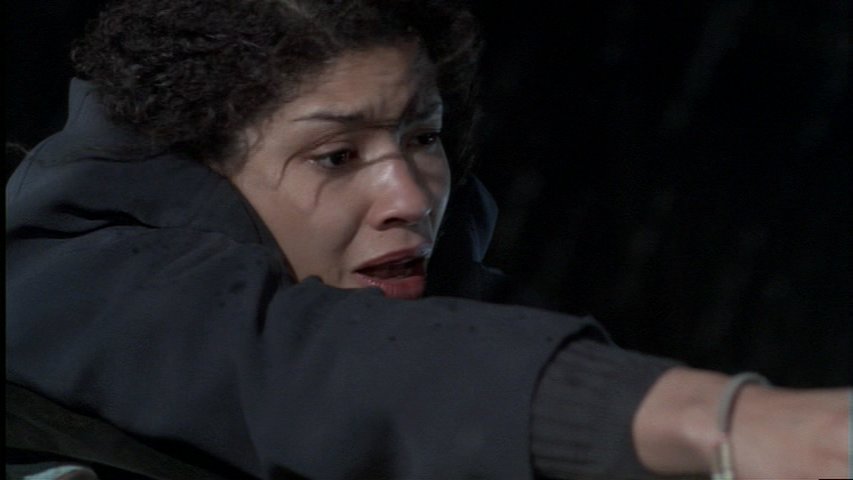
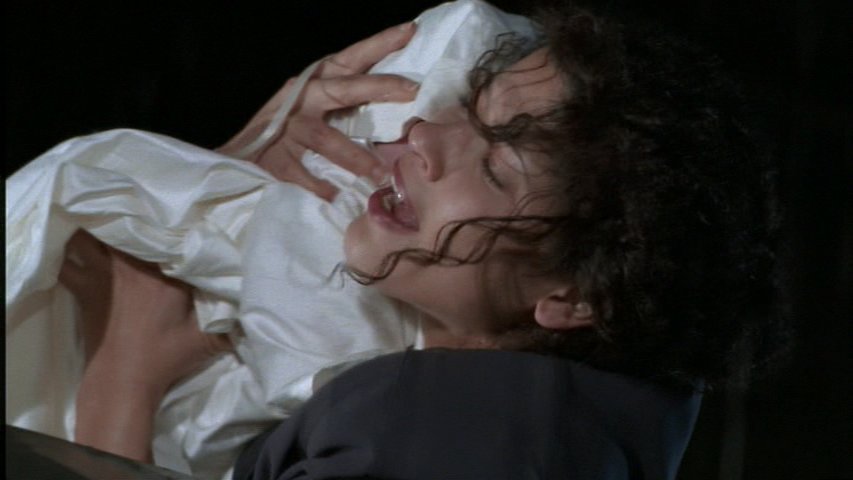
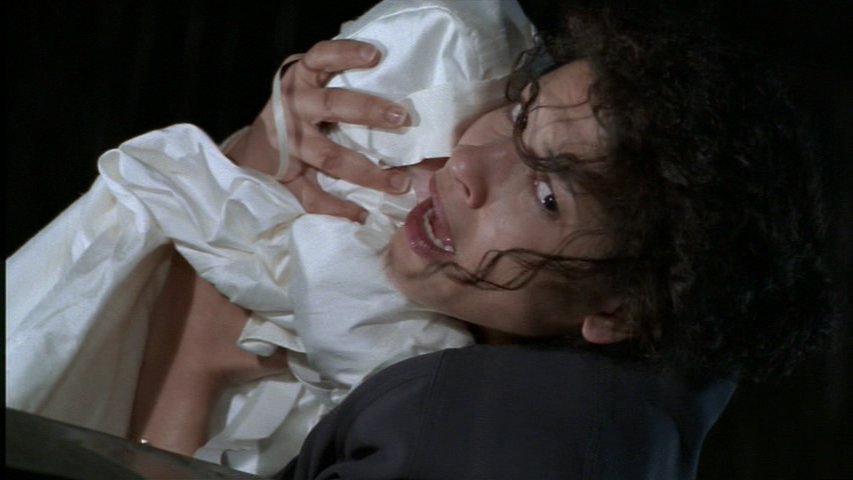
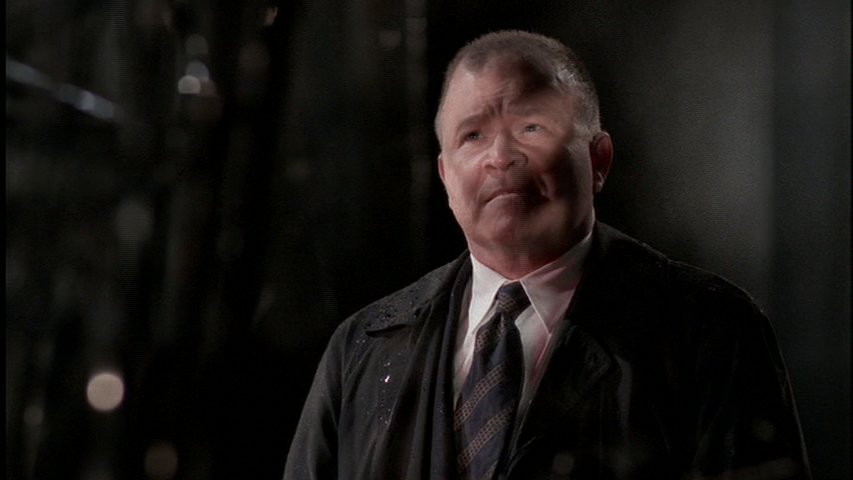
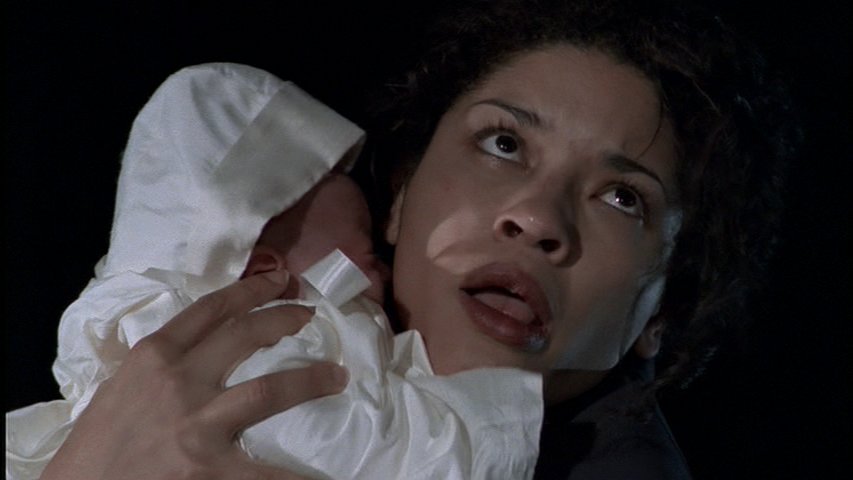
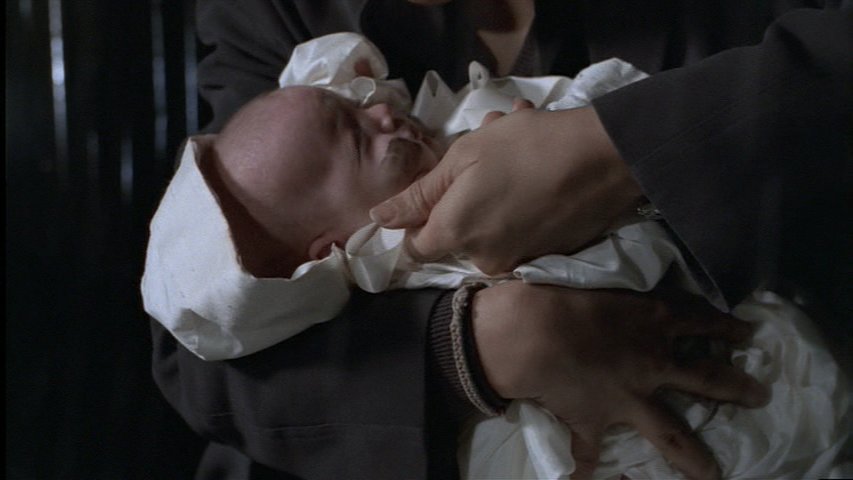
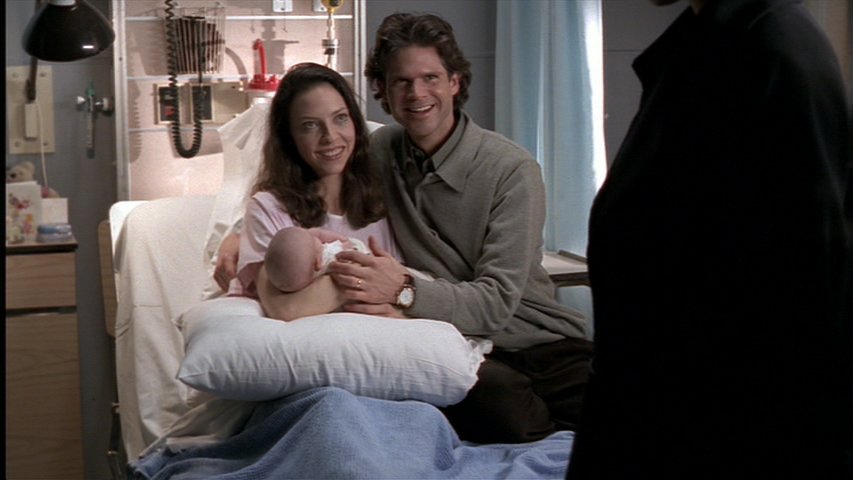
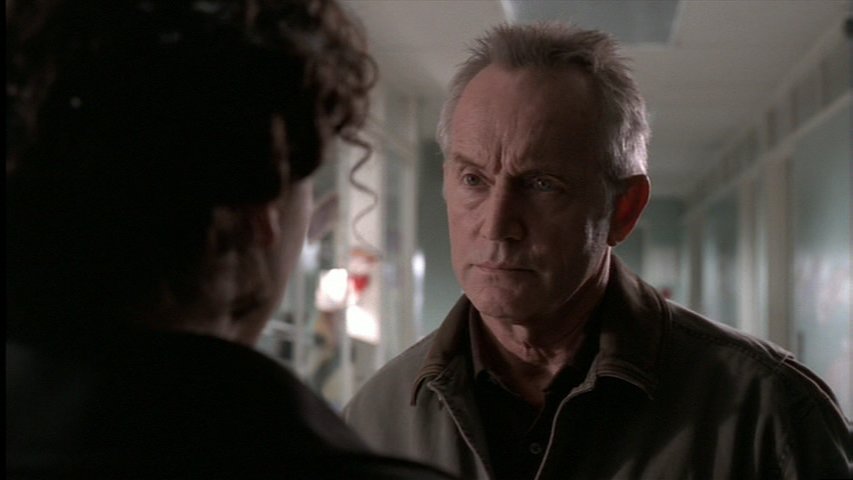
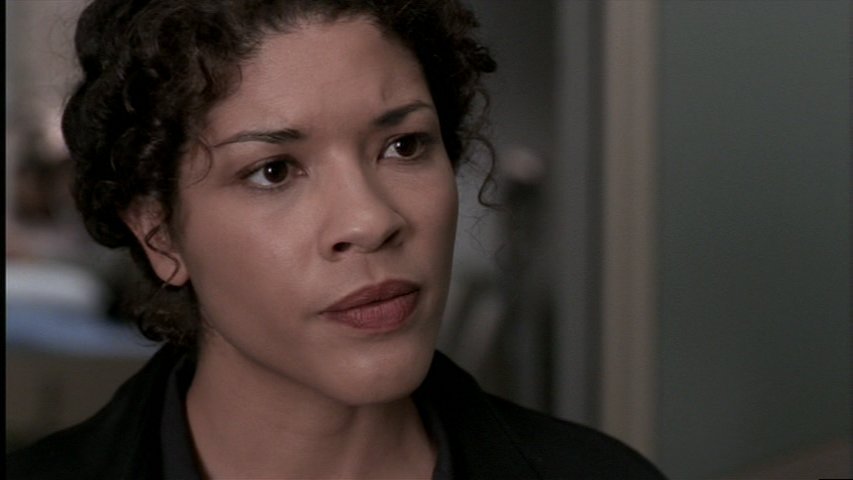
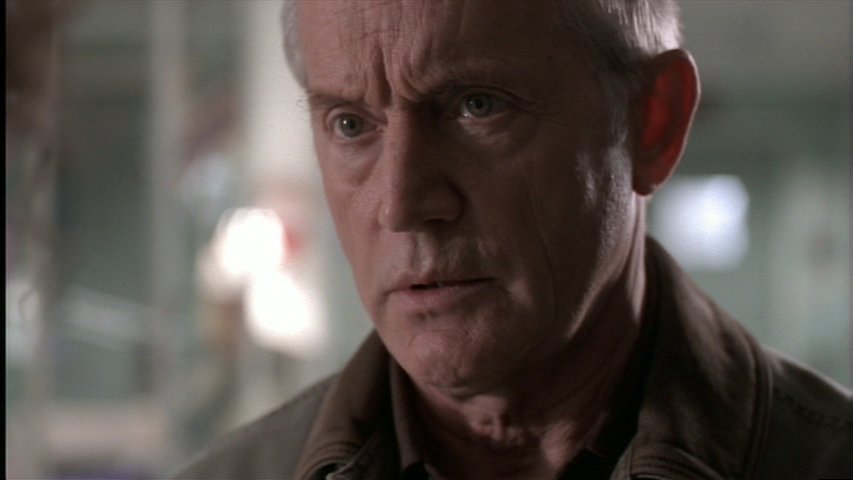
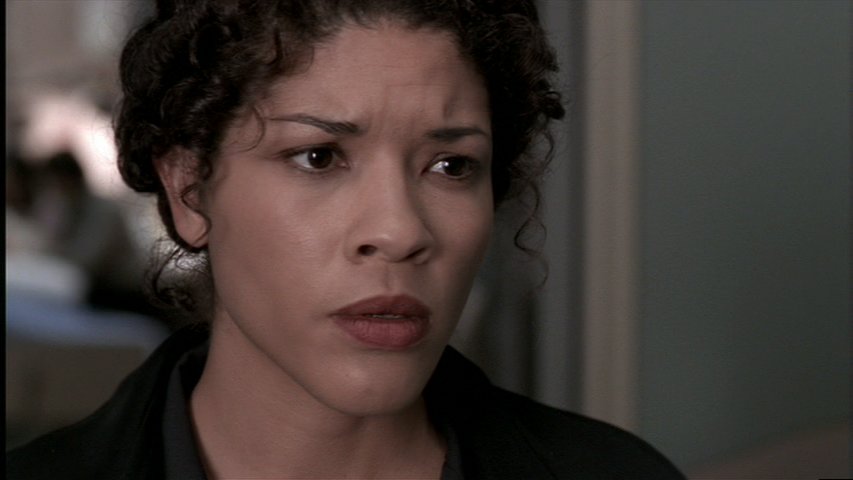
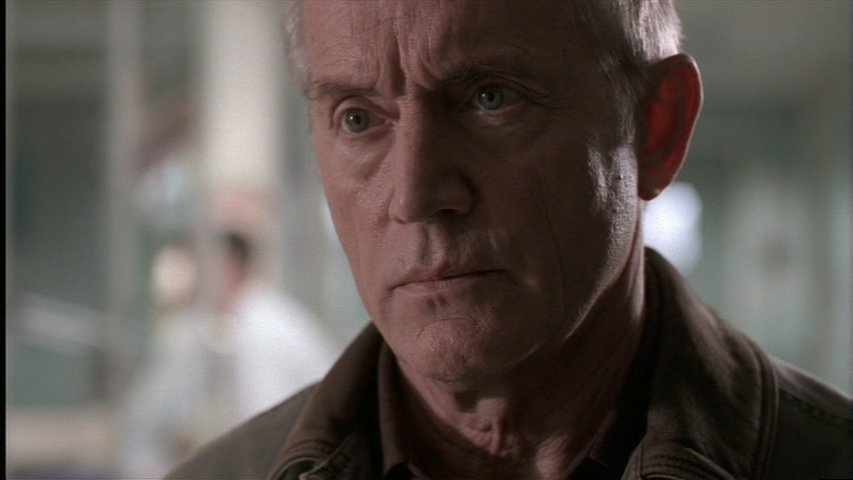
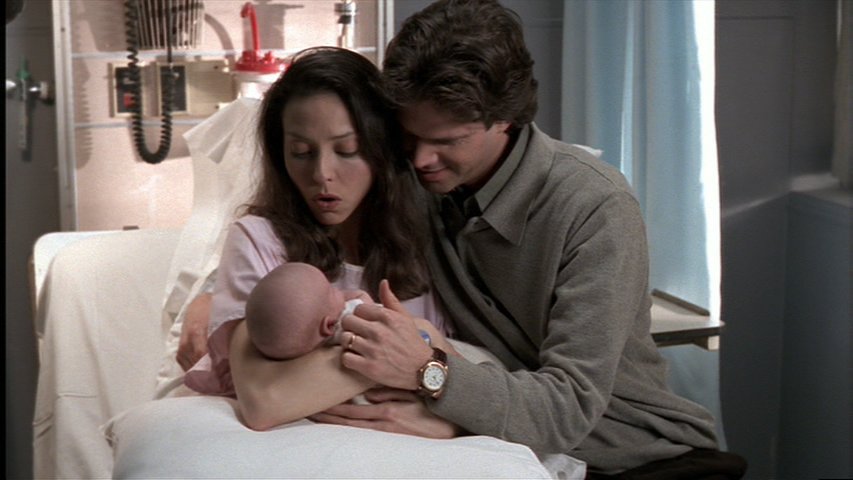
Acting as swiftly as possible while the opportunity presents itself, a fundamentalist Jewish group abducts a pregnant woman, hoping to gain ownership over the woman's unborn child. They hope to fulfill biblical prophecy by raising a pure child for the new millennium, forcing it into the priesthood, and leading the second coming of the Messiah at the yet-to-be built third temple in Jerusalem. Emma Hollis suspects Millennium Group involvement in these events and is shocked when Peter Watts reaches out to her to help close the investigation.


Forcing the End


Season:

3

MLM Code:

#MLM-315

Production Code:

3ABC15

Original Airdate:

1999-03-19


Further pages related to this episode of Millennium, Forcing the End:

Full Episode Profile |  Synopsis | Credit List | Transcript | Promotional Photos

Previous | Next


There are 155 images available for this episode. Simply click on an image to view it full size.


Thumbnail image 1 from the Millennium episode Forcing the End.
Thumbnail image 2 from the Millennium episode Forcing the End.
Thumbnail image 3 from the Millennium episode Forcing the End.
Thumbnail image 4 from the Millennium episode Forcing the End.
Thumbnail image 5 from the Millennium episode Forcing the End.
Thumbnail image 6 from the Millennium episode Forcing the End.
Thumbnail image 7 from the Millennium episode Forcing the End.
Thumbnail image 8 from the Millennium episode Forcing the End.
Thumbnail image 9 from the Millennium episode Forcing the End.
Thumbnail image 10 from the Millennium episode Forcing the End.
Thumbnail image 11 from the Millennium episode Forcing the End.
Thumbnail image 12 from the Millennium episode Forcing the End.
Thumbnail image 13 from the Millennium episode Forcing the End.
Thumbnail image 14 from the Millennium episode Forcing the End.
Thumbnail image 15 from the Millennium episode Forcing the End.
Thumbnail image 16 from the Millennium episode Forcing the End.
Thumbnail image 17 from the Millennium episode Forcing the End.
Thumbnail image 18 from the Millennium episode Forcing the End.
Thumbnail image 19 from the Millennium episode Forcing the End.
Thumbnail image 20 from the Millennium episode Forcing the End.
Thumbnail image 21 from the Millennium episode Forcing the End.
Thumbnail image 22 from the Millennium episode Forcing the End.
Thumbnail image 23 from the Millennium episode Forcing the End.
Thumbnail image 24 from the Millennium episode Forcing the End.
Thumbnail image 25 from the Millennium episode Forcing the End.
Thumbnail image 26 from the Millennium episode Forcing the End.
Thumbnail image 27 from the Millennium episode Forcing the End.
Thumbnail image 28 from the Millennium episode Forcing the End.
Thumbnail image 29 from the Millennium episode Forcing the End.
Thumbnail image 30 from the Millennium episode Forcing the End.
Thumbnail image 31 from the Millennium episode Forcing the End.
Thumbnail image 32 from the Millennium episode Forcing the End.
Thumbnail image 33 from the Millennium episode Forcing the End.
Thumbnail image 34 from the Millennium episode Forcing the End.
Thumbnail image 35 from the Millennium episode Forcing the End.
Thumbnail image 36 from the Millennium episode Forcing the End.
Thumbnail image 37 from the Millennium episode Forcing the End.
Thumbnail image 38 from the Millennium episode Forcing the End.
Thumbnail image 39 from the Millennium episode Forcing the End.
Thumbnail image 40 from the Millennium episode Forcing the End.
Thumbnail image 41 from the Millennium episode Forcing the End.
Thumbnail image 42 from the Millennium episode Forcing the End.
Thumbnail image 43 from the Millennium episode Forcing the End.
Thumbnail image 44 from the Millennium episode Forcing the End.
Thumbnail image 45 from the Millennium episode Forcing the End.
Thumbnail image 46 from the Millennium episode Forcing the End.
Thumbnail image 47 from the Millennium episode Forcing the End.
Thumbnail image 48 from the Millennium episode Forcing the End.
Thumbnail image 49 from the Millennium episode Forcing the End.
Thumbnail image 50 from the Millennium episode Forcing the End.
Thumbnail image 51 from the Millennium episode Forcing the End.
Thumbnail image 52 from the Millennium episode Forcing the End.
Thumbnail image 53 from the Millennium episode Forcing the End.
Thumbnail image 54 from the Millennium episode Forcing the End.
Thumbnail image 55 from the Millennium episode Forcing the End.
Thumbnail image 56 from the Millennium episode Forcing the End.
Thumbnail image 57 from the Millennium episode Forcing the End.
Thumbnail image 58 from the Millennium episode Forcing the End.
Thumbnail image 59 from the Millennium episode Forcing the End.
Thumbnail image 60 from the Millennium episode Forcing the End.
Thumbnail image 61 from the Millennium episode Forcing the End.
Thumbnail image 62 from the Millennium episode Forcing the End.
Thumbnail image 63 from the Millennium episode Forcing the End.
Thumbnail image 64 from the Millennium episode Forcing the End.
Thumbnail image 65 from the Millennium episode Forcing the End.
Thumbnail image 66 from the Millennium episode Forcing the End.
Thumbnail image 67 from the Millennium episode Forcing the End.
Thumbnail image 68 from the Millennium episode Forcing the End.
Thumbnail image 69 from the Millennium episode Forcing the End.
Thumbnail image 70 from the Millennium episode Forcing the End.
Thumbnail image 71 from the Millennium episode Forcing the End.
Thumbnail image 72 from the Millennium episode Forcing the End.
Thumbnail image 73 from the Millennium episode Forcing the End.
Thumbnail image 74 from the Millennium episode Forcing the End.
Thumbnail image 75 from the Millennium episode Forcing the End.
Thumbnail image 76 from the Millennium episode Forcing the End.
Thumbnail image 77 from the Millennium episode Forcing the End.
Thumbnail image 78 from the Millennium episode Forcing the End.
Thumbnail image 79 from the Millennium episode Forcing the End.
Thumbnail image 80 from the Millennium episode Forcing the End.
Thumbnail image 81 from the Millennium episode Forcing the End.
Thumbnail image 82 from the Millennium episode Forcing the End.
Thumbnail image 83 from the Millennium episode Forcing the End.
Thumbnail image 84 from the Millennium episode Forcing the End.
Thumbnail image 85 from the Millennium episode Forcing the End.
Thumbnail image 86 from the Millennium episode Forcing the End.
Thumbnail image 87 from the Millennium episode Forcing the End.
Thumbnail image 88 from the Millennium episode Forcing the End.
Thumbnail image 89 from the Millennium episode Forcing the End.
Thumbnail image 90 from the Millennium episode Forcing the End.
Thumbnail image 91 from the Millennium episode Forcing the End.
Thumbnail image 92 from the Millennium episode Forcing the End.
Thumbnail image 93 from the Millennium episode Forcing the End.
Thumbnail image 94 from the Millennium episode Forcing the End.
Thumbnail image 95 from the Millennium episode Forcing the End.
Thumbnail image 96 from the Millennium episode Forcing the End.
Thumbnail image 97 from the Millennium episode Forcing the End.
Thumbnail image 98 from the Millennium episode Forcing the End.
Thumbnail image 99 from the Millennium episode Forcing the End.
Thumbnail image 100 from the Millennium episode Forcing the End.
Thumbnail image 101 from the Millennium episode Forcing the End.
Thumbnail image 102 from the Millennium episode Forcing the End.
Thumbnail image 103 from the Millennium episode Forcing the End.
Thumbnail image 104 from the Millennium episode Forcing the End.
Thumbnail image 105 from the Millennium episode Forcing the End.
Thumbnail image 106 from the Millennium episode Forcing the End.
Thumbnail image 107 from the Millennium episode Forcing the End.
Thumbnail image 108 from the Millennium episode Forcing the End.
Thumbnail image 109 from the Millennium episode Forcing the End.
Thumbnail image 110 from the Millennium episode Forcing the End.
Thumbnail image 111 from the Millennium episode Forcing the End.
Thumbnail image 112 from the Millennium episode Forcing the End.
Thumbnail image 113 from the Millennium episode Forcing the End.
Thumbnail image 114 from the Millennium episode Forcing the End.
Thumbnail image 115 from the Millennium episode Forcing the End.
Thumbnail image 116 from the Millennium episode Forcing the End.
Thumbnail image 117 from the Millennium episode Forcing the End.
Thumbnail image 118 from the Millennium episode Forcing the End.
Thumbnail image 119 from the Millennium episode Forcing the End.
Thumbnail image 120 from the Millennium episode Forcing the End.
Thumbnail image 121 from the Millennium episode Forcing the End.
Thumbnail image 122 from the Millennium episode Forcing the End.
Thumbnail image 123 from the Millennium episode Forcing the End.
Thumbnail image 124 from the Millennium episode Forcing the End.
Thumbnail image 125 from the Millennium episode Forcing the End.
Thumbnail image 126 from the Millennium episode Forcing the End.
Thumbnail image 127 from the Millennium episode Forcing the End.
Thumbnail image 128 from the Millennium episode Forcing the End.
Thumbnail image 129 from the Millennium episode Forcing the End.
Thumbnail image 130 from the Millennium episode Forcing the End.
Thumbnail image 131 from the Millennium episode Forcing the End.
Thumbnail image 132 from the Millennium episode Forcing the End.
Thumbnail image 133 from the Millennium episode Forcing the End.
Thumbnail image 134 from the Millennium episode Forcing the End.
Thumbnail image 135 from the Millennium episode Forcing the End.
Thumbnail image 136 from the Millennium episode Forcing the End.
Thumbnail image 137 from the Millennium episode Forcing the End.
Thumbnail image 138 from the Millennium episode Forcing the End.
Thumbnail image 139 from the Millennium episode Forcing the End.
Thumbnail image 140 from the Millennium episode Forcing the End.
Thumbnail image 141 from the Millennium episode Forcing the End.
Thumbnail image 142 from the Millennium episode Forcing the End.
Thumbnail image 143 from the Millennium episode Forcing the End.
Thumbnail image 144 from the Millennium episode Forcing the End.
Thumbnail image 145 from the Millennium episode Forcing the End.
Thumbnail image 146 from the Millennium episode Forcing the End.
Thumbnail image 147 from the Millennium episode Forcing the End.
Thumbnail image 148 from the Millennium episode Forcing the End.
Thumbnail image 149 from the Millennium episode Forcing the End.
Thumbnail image 150 from the Millennium episode Forcing the End.
Thumbnail image 151 from the Millennium episode Forcing the End.
Thumbnail image 152 from the Millennium episode Forcing the End.
Thumbnail image 153 from the Millennium episode Forcing the End.
Thumbnail image 154 from the Millennium episode Forcing the End.
Thumbnail image 155 from the Millennium episode Forcing the End.

Previous | Next


About these images

Our Millennium Episode and Credits Guide Gallery contains thousands of high quality Millennium episode stills.

Credit: Images from Millennium remain the acknowledged copyright of Twentieth Century Fox Home Entertainment, Inc and its related entities. These screen captures are used for non-profit promotional and education purposes only.